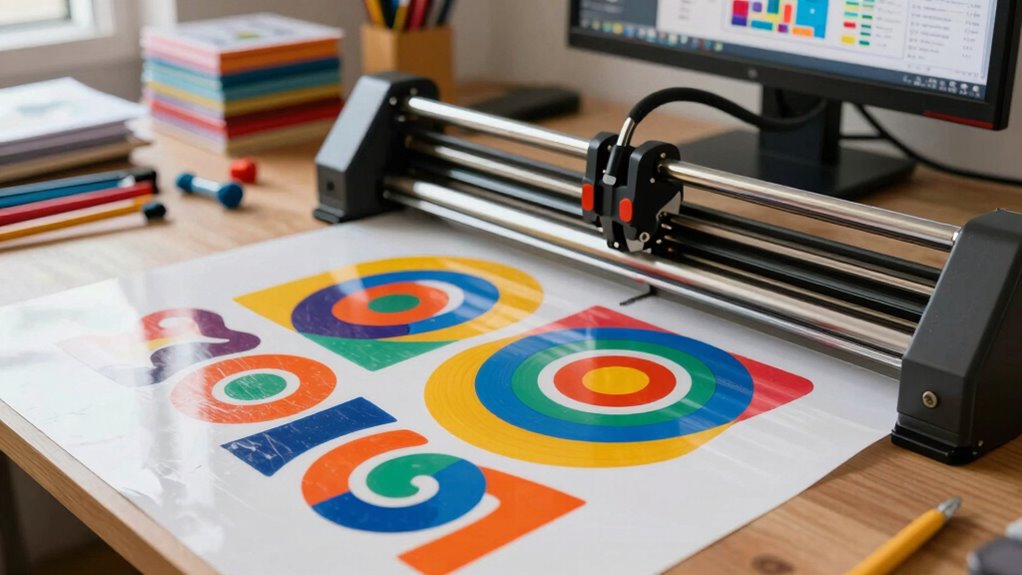

Your vinyl cutter workflow is vital because it guarantees consistent, high-quality results beyond just specs. Properly securing material, maintaining the machine, and preparing files correctly prevent errors and improve precision. A disciplined process reduces waste, saves time, and keeps your cutting accurate. Even the best machine can’t deliver perfect results without a solid workflow—keep exploring to discover how to optimize every step for success.

Get art and craft supplies delivered free with Prime
- Fast, free delivery on millions of items
- Prime Video, Amazon Music and more included
- Member-only deals all year
Key Takeaways
- A consistent workflow ensures high-quality, precise cuts regardless of machine specifications.
- Proper handling and setup prevent errors that specs alone cannot mitigate.
- Regular maintenance and calibration maintain performance beyond initial specifications.
- Organized file preparation reduces mistakes and enhances overall efficiency.
- Discipline in workflow guarantees reliable, repeatable results over relying solely on hardware features.
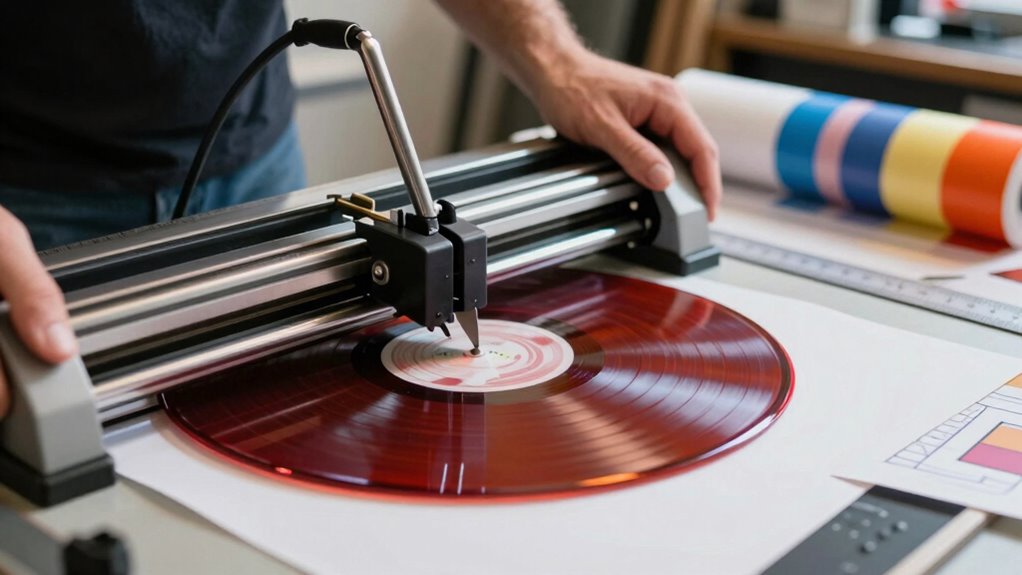
If you’re new to vinyl cutting, understanding the workflow is vital for creating clean, professional designs. The process isn’t just about choosing the right cutter; it’s about how you approach each step, from material selection to guaranteeing cutting accuracy. When you develop a solid workflow, you minimize mistakes, save time, and produce high-quality results consistently. This consistency is crucial because cutting accuracy is the backbone of a successful vinyl project. Even the most advanced cutter won’t perform well if your workflow isn’t aligned with maintaining precision. That means calibrating your machine regularly, setting the correct blade depth, and adjusting cutting pressure based on the material you’re using. When you follow a consistent workflow, you guarantee each cut is clean and accurate, preventing issues like incomplete cuts or tearing. Properly securing the vinyl to the cutting mat is another step that impacts accuracy—if the material shifts during cutting, your design will be compromised. Taking the time to align and secure your material properly makes a noticeable difference in the quality of your finished product. Additionally, paying attention to machine maintenance can extend the lifespan of your equipment and ensure consistent performance.
Choosing the right materials and mastering your machine ensures professional, precise vinyl cuts every time.
A well-structured workflow also involves organizing your files and setting up your software correctly before you begin cutting. Streamlining this step reduces errors and speeds up the process. You should always double-check your design for cut lines, ensure the correct blade type and settings are selected, and preview the cut. These small checks, along with file management, save you from having to redo work or waste materials later. Additionally, maintaining your cutter—cleaning blades and ensuring rollers are functioning properly—keeps your workflow smooth and consistent over time. Proper material handling is essential for ensuring the best possible results and reducing material waste. Recognizing machine calibration as a foundational step ensures your cutter performs optimally and consistently over multiple projects.
Ultimately, your vinyl cutter’s capabilities are only as good as your workflow allows. Prioritizing material selection and cutting accuracy helps you achieve professional results, regardless of the machine’s specs. When you approach each project with a clear, disciplined process, you’ll find that your vinyl cutting becomes more predictable, efficient, and satisfying. It’s not just about having a high-end cutter; it’s about how you work with what you’ve got to produce the best possible outcomes every time.
vinyl cutter blade calibration tool
As an affiliate, we earn on qualifying purchases.
As an affiliate, we earn on qualifying purchases.
Frequently Asked Questions
How Does Workflow Impact Overall Vinyl Cutting Efficiency?
Your workflow directly impacts vinyl cutting efficiency by ensuring smooth material handling and precise blade calibration. When you organize your workspace and prepare materials properly, you reduce errors and waste. Regularly calibrating the blade guarantees clean cuts, preventing delays. By focusing on these steps, you streamline the process, saving time and improving quality. A well-thought-out workflow keeps your vinyl cutter running efficiently, making your projects faster and more professional.
What Common Mistakes Disrupt a Smooth Vinyl Cutter Workflow?
Ever wonder why your vinyl cutter gets stuck or cuts unevenly? Common mistakes include poor material handling, which causes misalignment, and neglecting blade maintenance, leading to dull cuts. You might also skip calibration or rush setups, disrupting workflow. To keep things smooth, handle materials carefully, regularly check and replace blades, and follow precise setup procedures. These small steps make a big difference in your vinyl cutting efficiency.
How Can Workflow Improve Material Waste Reduction?
Your workflow can ensure material waste reduction through effective material optimization. By carefully planning your cuts and using software that maximizes each sheet’s potential, you minimize excess material. Waste minimization happens when you align your design layout with precision and avoid unnecessary trimming. Streamlining your process ensures you use every inch efficiently, saving costs and reducing environmental impact. Proper workflow management makes waste less of a concern and boosts overall productivity.
What Role Does Software Integration Play in Workflow?
Coincidentally, seamless software integration plays a vital role in your workflow by enhancing design flexibility and ensuring compatibility. When your design software syncs effortlessly with your vinyl cutter, you can quickly adapt projects, tweak designs, and reduce errors. This streamlines your process, saves time, and minimizes material waste. With compatible software, you gain more control, allowing you to focus on creativity rather than technical glitches, ultimately boosting productivity and quality.
How to Train Staff for Optimal Vinyl Cutter Workflow?
To train staff for ideal vinyl cutter workflow, you focus on establishing clear procedures around design consistency and routine maintenance. You should provide hands-on training to guarantee they understand how to create uniform designs and maintain equipment properly. Encourage regular practice and troubleshooting, emphasizing the importance of following maintenance routines. This approach helps prevent errors, boosts efficiency, and keeps your vinyl cutter operating smoothly, ensuring high-quality results every time.
As an affiliate, we earn on qualifying purchases.
Conclusion
Think of your vinyl cutter workflow as the engine behind a well-oiled machine. No matter how shiny or powerful the specs, if the process isn’t smooth, your results suffer like a car sputtering on the road. By focusing on your workflow, you’re tuning each part for maximum performance. Remember, it’s not just about the engine—it’s how you drive it. Master your workflow, and your vinyl projects will roll out flawlessly every time.
professional vinyl cutter software
As an affiliate, we earn on qualifying purchases.
As an affiliate, we earn on qualifying purchases.
As an affiliate, we earn on qualifying purchases.
Halloween Picks
halloween
As an affiliate, we earn on qualifying purchases.