TL;DR
Mixed media art combines two or more materials or techniques in one artwork, such as watercolor, ink, acrylic, or collage. Start with a sturdy surface, a few materials you enjoy, a suitable adhesive, and simple mark-making tools; test layers on scraps before adding a finish.
A small sketchbook can turn into a wonderfully messy laboratory: watercolor blooms, a torn book page catches on wet acrylic, and a fine pen draws a sharp line through the color. That kind of layered experiment is the appeal of mixed media art, and it doesn’t require a giant box of supplies.

Get art and craft supplies delivered free with Prime
- Fast, free delivery on millions of items
- Prime Video, Amazon Music and more included
- Member-only deals all year
Mixed media means an artwork uses two or more materials or techniques. You might pair watercolor with ink, add paper collage to acrylic paint, or draw over a painted surface. This guide explains what each supply does, how to make sensible choices, and how to test combinations before committing them to a finished piece.
You’ll also find a starter list and practical layering advice. The goal is a kit that suits your next project, whether that’s a textured journal page or a careful collage on a sturdy board.
Mixed media art uses at least two materials or techniques in one artwork.
Choose a surface based on the wettest and heaviest layers in your plan.
Start with a small kit: support, a few color or drawing tools, adhesive, and a brush or scissors as needed.
Test the exact material sequence on scrap paper to catch bleeding, buckling, and adhesion issues.
Choose fixatives and varnishes for the materials used, and test the finish before applying it to the artwork.
What Mixed Media Means—and Why Your Supplies Should Work Together
Mixed media art combines at least two materials or techniques in one artwork, such as collage paper with painted details or watercolor with ink. The term covers quick sketchbook play as well as carefully planned work. Your supply choices matter because each material can change how the next one sticks, spreads, or dries.
For example, watercolor sinks into bare paper and leaves soft edges, while acrylic forms a water-resistant layer once it dries. If you brush watercolor over that acrylic, it won’t behave as it would on absorbent paper; it may bead or sit in uneven patches. That can be a happy accident, but it’s easier to use when you know what to expect.
People sometimes use “multimedia” and “mixed media” loosely. Multimedia often points to work that includes sound, video, or digital elements, while an everyday mixed media page might simply pair painted shapes with printed scraps. A collage in your journal still counts if it combines distinct materials or techniques.
Think of your supplies as a small team. A surface supports the work, adhesive holds pieces in place, color media create broad areas, and drawing tools add crisp marks. Pick materials around the effect you want; a printed keyword like art supplies for mixed media doesn’t tell you whether a product will suit your paper, glue, or paint.
Popular right now

Shark Rocket Pet Plus Corded Stick Vacuum, Bordeaux/Silver, HV322

Roborock Q7 M5+ Robot Vacuum and Mop with Self-Emptying Dock

KitchenAid 5.5-Quart Bowl-Lift Stand Mixer, Porcelain White
As an affiliate, we earn on qualifying purchases.
Build a Starter Kit Without Buying a Giant Box
A useful beginner kit needs a sturdy surface, a few color or drawing tools, adhesive, and a way to apply them. You can start with a mixed media or watercolor pad, one or two favorite color media, a pencil or pen, glue, scissors, and a brush if your project uses wet color. Add supplies only when you have a reason to use them.
Imagine you want to make a journal spread inspired by a rainy walk. A sheet of heavier paper, a blue watercolor, a waterproof pen, a glue stick, and two scraps from a paper bag might be plenty. A palette knife, six kinds of paint, and specialty sprays can wait until you discover that you actually want thick texture or a protective coating.
Use this short checklist to shop by function rather than by the word “mixed media” on a package:
- Choose a support that fits your wettest planned layer.
- Pick one or two color media, such as watercolor and colored pencil or acrylic and marker.
- Add a drawing tool for lines, labels, or small details.
- Choose adhesive based on whether you’re attaching thin paper, fabric, or heavier pieces.
- Keep scraps nearby for testing layers and glue.
A small kit keeps choices manageable and helps you learn what each material does. If you enjoy loose washes, spend more on a surface that handles water. If your pages are mostly dry collage, prioritize paper and an adhesive that won’t wrinkle your pieces.
Pick a Surface That Can Handle Your Wettest Layer
Your surface should be strong enough for the wettest, heaviest part of the project. Mixed media paper suits many experiments, watercolor paper can take water well, and canvas, wood panels, or prepared boards provide a firmer base for repeated layering. There is no single best paper for every approach.
Picture a thin notebook page covered with a generous watercolor wash, gel medium, and a glued photograph. The page can buckle, wrinkle, or tear as the damp layers pull at it. A heavier sheet or a rigid panel gives those materials more support, especially when you plan to add more paint after the collage dries.
For a mostly dry page with pencil, a few small paper scraps, and a marker, you may not need a heavy board. But for a project with watery washes or several rounds of reworking, choose a heavier paper or firm support. Check the paper’s weight and intended use, then try your exact approach on a spare sheet before starting a finished piece.
If you already have lightweight paper you love, adapt the process: apply less water, work in thinner layers, and let each one dry before adding the next. For instance, a delicate journal page may hold a small watercolor sketch and a few dry collage pieces beautifully, even if it can’t handle a soaked wash. The surface shapes the technique as much as the technique shapes the surface.
Match Your Glue, Colors, and Mark-Making Tools to the Job
Choose adhesive for the material you’re attaching and color media for the surface beneath them. Glue sticks, acrylic mediums, and gel mediums each serve different jobs; watercolor, gouache, acrylic, colored pencil, markers, oil pastel, and soft pastel offer different marks. Compatibility varies, so don’t assume every layer will behave neatly over every other one.
| Supply | Useful for | Watch for |
|---|---|---|
| Glue stick | Light paper scraps and small collage pieces | Heavy pieces may need a stronger adhesive |
| Acrylic or gel medium | Attaching paper or building a surface layer | Test sheen, texture, and compatibility first |
| Watercolor | Transparent washes and soft blooms | Later wet layers can reactivate it |
| Acrylic paint | Opaque shapes and durable, water-resistant layers when dry | Watercolor over it may bead or behave differently |
| Pen or marker | Fine lines, lettering, and accents | Some inks can bleed under wet layers |
Suppose you paste a printed image into an acrylic collage, then draw around its edges. A pen that smears when damp could blur that clean outline, so test it on a scrap with the same glue and paint underneath. Graphite, charcoal, brushes, palette knives, stamps, and texture tools can add further marks, but even a pencil and one brush provide plenty to explore.
Paper choice also affects longevity. A recycled magazine scrap may bring exactly the color or story you want, while paper’s acidity and lightfastness can affect how it ages. If you care about a lasting piece, use stable papers and suitable adhesives where possible; reclaimed materials can be visually meaningful without being archival.
Layer Materials in an Order That Gives Them Room to Work
Test the planned sequence on a scrap, then let broad, wet layers dry before adding delicate details. This simple routine helps you catch bleeding, buckling, and adhesion problems before they land in the middle of a finished page. The order is a practical guide, not a strict rule: an intentional smudge or resist effect may call for a different sequence.
- Prepare the surface. Secure or support the paper if it tends to curl, and set out scraps for testing.
- Try the full combination. Add the same paint, adhesive, paper, or ink you plan to use, in the intended order.
- Build broad areas first. Add washes or large painted shapes, then let damp layers dry before delicate drawing.
- Attach and finish the collage. Check that the glue has dried before drawing, painting, or sealing over the pieces.
- Assess before sealing. Confirm that every layer is dry and that the protective product suits the materials.
Say you want watercolor, an old map fragment, and a fine ink outline in one small landscape. On your scrap, you may find that the map’s ink runs when you brush water over it. Let the watercolor dry first, attach the map with a suitable medium, and test whether your outline stays crisp on top.
Drying time depends on the material and thickness. Acrylic usually dries faster than oil paint, while thick paint or damp collage can take longer than a thin wash. Oil paint needs special care and drying consideration; it generally does not suit casual layering over water-based paint or paper collage. Follow product directions and established oil-painting practices before combining it with other media.
Choose a Setup for Collage, Wet Color, or Textured Pages
Let the look you want decide which supplies earn a spot on your table. A collage-heavy project needs papers and reliable adhesive; a wash-heavy painting needs a surface that handles moisture; a texture study benefits from tools that can spread or press materials. One flexible kit can support several projects, but each project has its own pressure points.
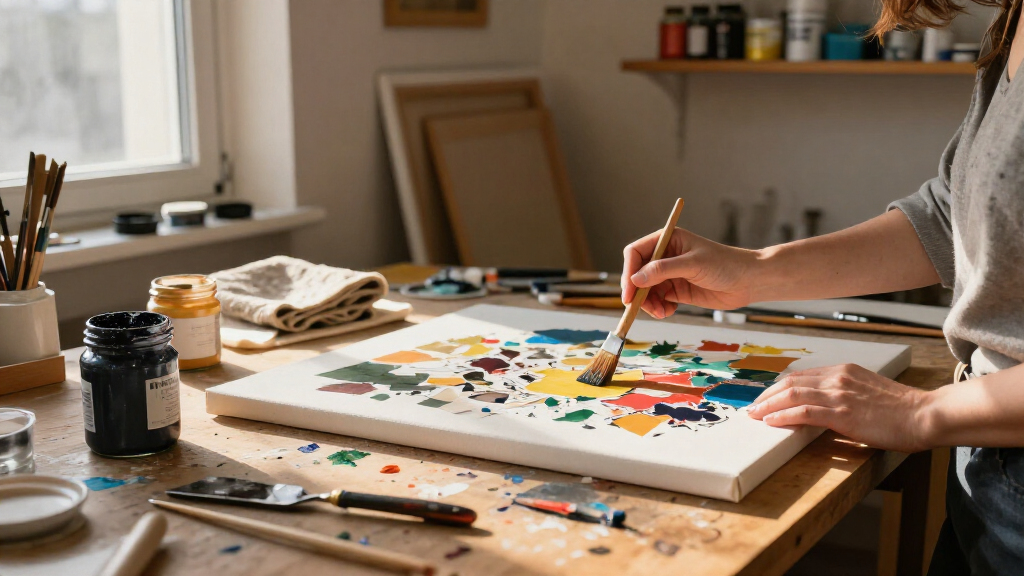
For a collage-focused journal page, try heavier paper, a glue stick or suitable medium, scissors, printed pages, tissue, and a pen for the final marks. A torn cream book page beside a bright red ticket gives you contrast in both color and texture. If the page is precious or the artwork should last, consider the stability of each paper and adhesive.
For a wet-media experiment, reach for watercolor paper or another sturdy support, watercolor or gouache, a brush, and a pencil. Let the wash dry before adding a pen if you want a sharp edge. If you want acrylic shapes instead, remember that watercolor placed over dry acrylic will not act as it does on bare paper.
For a textured piece, a prepared board, acrylic paint, a palette knife, and fabric or heavier paper scraps can create raised edges and rough surfaces. A small test board lets you see whether the adhesive holds and whether the texture catches later brush marks. Online classes and process videos can help you see techniques in action, but check current product guidance because formulations and availability change.
Protect Finished Work Without Guessing at the Finish
A varnish or spray fixative can protect some finished work, but the right product depends on the media. These products aren’t interchangeable, and a finish may change color, sheen, or surface feel. Always check the manufacturer’s instructions and test on a sample made with the same layers.
For example, a charcoal drawing layered over collage might smudge when touched, while a marker on a glossy painted area may already be stable. Applying the same spray to both without testing could affect one layer differently from the other. Let the work dry fully, then check whether the selected product is intended for the materials you used.
Sometimes you don’t need a finish. A page that will live in a closed sketchbook may be fine as it is, while a piece displayed in bright light may call for more thought about stable materials and protection. Archival quality depends on the whole combination: support, color, adhesives, storage, display, and any coating.
Test the finish on a sample before it touches your artwork. A tiny test can reveal a color shift, unwanted gloss, or a reaction between layers while you still have time to choose another approach.
Reclaimed papers and found objects can add a personal history that fresh art paper cannot. They may also be less stable over time. If longevity matters, balance the visual appeal of those materials with stable supports, lightfast choices, suitable adhesives, and sensible display conditions.
Frequently Asked Questions
What supplies should a beginner buy for mixed media?
Start with a sturdy surface, one or two color media, a drawing tool, adhesive, and scissors. Add a brush if you plan to use wet paint. A watercolor pad, pencil, blue wash, pen, glue stick, and a few paper scraps can make a complete first journal page.
What is the best paper for mixed media?
There is no single best paper for every project. Heavier mixed media or watercolor paper handles more moisture, while lighter paper can work for mostly dry drawing and small collage pieces. Check the intended use and test your layers on a spare sheet.
Can I mix watercolor and acrylic?
Yes, but the order and surface affect the result. Acrylic is water-resistant once dry, so watercolor over acrylic may bead or spread differently than it does on bare paper. Try the sequence on a scrap before using it in a finished piece.
How can I stop paper from buckling?
Use heavier paper or a rigid support, apply less water, and let layers dry before adding more. If a light page buckles easily, save it for dry marks and small collage pieces rather than a soaked wash.
Do I need to seal mixed media art?
No, not every piece needs a finish. Varnish and fixative suit different materials, and either may affect color or sheen. Follow the product guidance and test it on a sample before applying it to your artwork.
Are mixed media supplies safe for children?
Safety depends on each product. Check age guidance, labels, and ventilation instructions, and supervise children using art materials. “Non-toxic” does not mean a product is meant to be eaten or used without supervision.
Conclusion
Start with one sturdy surface, two materials you’re curious about, and scraps for testing. That small setup gives you room to learn how paper, color, and glue respond before you spend on tools you may not use.
Make one page, notice what surprised you, and let the next layer answer it. Sometimes the best mixed media supply is the one that leaves you eager to make another mark.