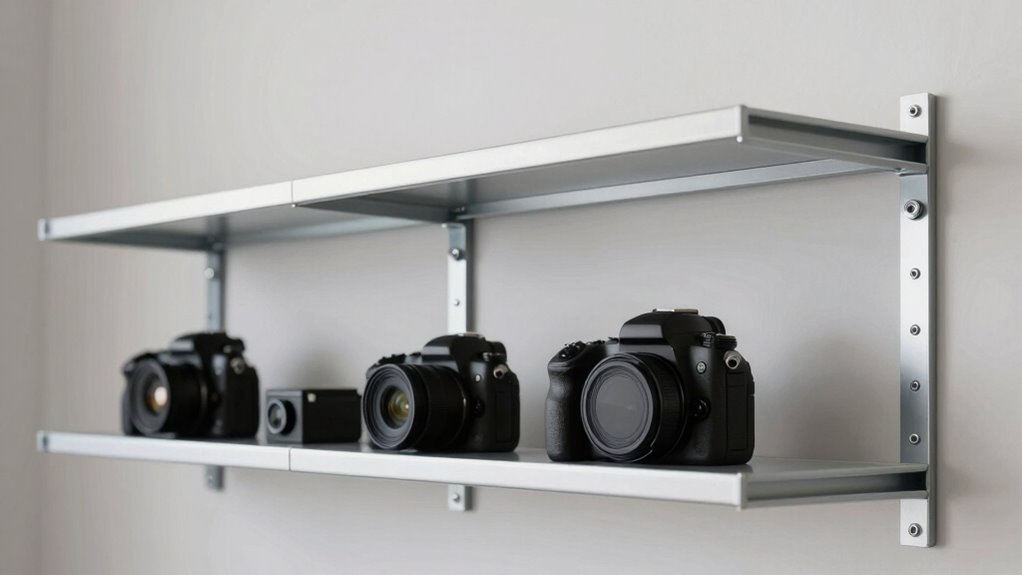

To quickly improve your studio shelving system, start by carefully planning your layout to maximize space and guarantee easy access. Securely anchor shelves to the wall to prevent tipping, especially when storing heavy items. Optimize lighting placement to reduce shadows and glare while avoiding heat damage. Choose durable, moisture-resistant materials suited to your environment. By following these fundamental setup rules, you’ll create a safer, more efficient workspace—keeping an eye out for more tips to perfect your system.
Key Takeaways
- Plan shelving layout for optimal space utilization and easy access to items.
- Use adjustable LED lighting to ensure even illumination and prevent shadows.
- Select durable, appropriate materials based on weight, humidity, and environmental needs.
- Securely anchor shelves to walls to enhance safety and stability.
- Incorporate cohesive interior design and energy-efficient solutions for a functional, eco-friendly studio.
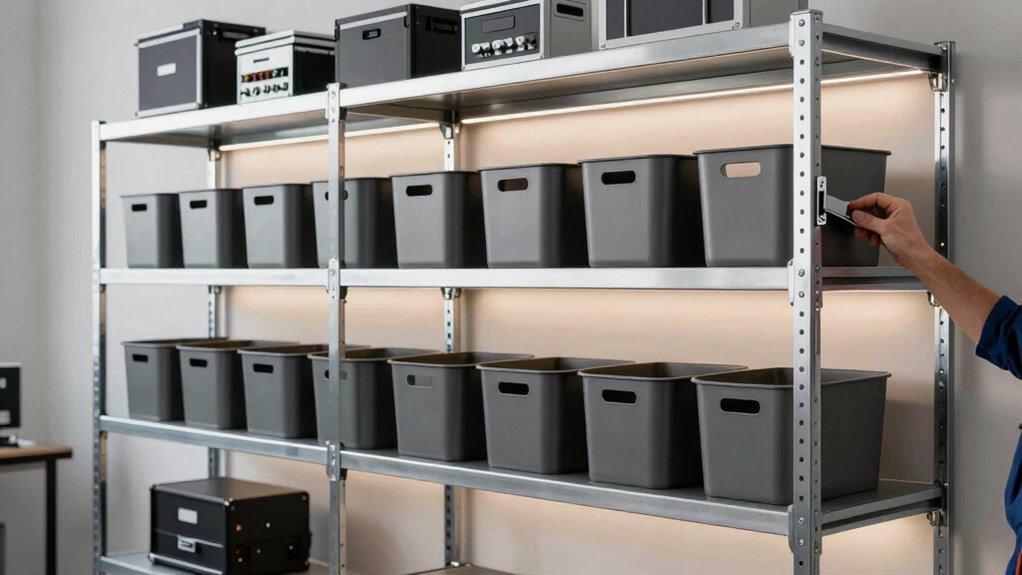
Setting up a studio shelving system requires careful planning to maximize space and guarantee stability. The first step is to contemplate how you’ll arrange the shelving to ensure easy access and efficient use of your studio’s layout. One critical aspect often overlooked is lighting placement. Proper lighting enhances visibility, making it easier to find and organize your items quickly. When planning your shelving, think about how light will fall on each shelf. Position lights strategically so that every level is well-illuminated without creating glare or shadows. Adjustable LED fixtures can be a great choice because they allow you to direct light precisely where needed. Avoid placing lighting too close to the shelves to prevent heat buildup or accidental damage, especially if you’re storing sensitive equipment or materials. Material selection is another key factor that influences both the stability and durability of your shelving system. The materials you choose should match the weight of what you’ll store and the environment of your studio. For heavy items, opt for sturdy materials like steel or high-quality wood. These materials provide a solid foundation and reduce the risk of sagging or collapsing over time. If you’re storing lightweight items or need a flexible setup, particleboard or laminated MDF can work, but make sure they are reinforced or supported to prevent warping. Additionally, consider the finish of the materials—moisture-resistant options are ideal if your studio has high humidity or is prone to spills. When combining lighting placement with material selection, always prioritize safety and longevity. Securely anchor your shelves to the wall using appropriate hardware, especially if you plan to store heavy or valuable items. This will prevent tipping or shifting. Use materials that can withstand the lighting setup—avoid flimsy shelves that might buckle under added weight or heat from lighting fixtures. Incorporating proper lighting techniques into your setup can further enhance both functionality and ambiance. Moreover, understanding the importance of material compatibility can help prevent premature wear or safety issues over time. Recognizing the significance of interior design principles can also contribute to creating a cohesive and safe studio environment. Additionally, considering sustainable material options can promote eco-friendly practices and reduce environmental impact in your studio. Being aware of biodiversity and conservation principles, even in a studio setting, can inspire eco-friendly choices for materials and energy-efficient lighting solutions.
adjustable LED studio lighting fixtures
As an affiliate, we earn on qualifying purchases.
As an affiliate, we earn on qualifying purchases.
Frequently Asked Questions
What Tools Are Needed for the Setup?
You’ll need basic tools like a screwdriver, level, and measuring tape for the setup. These help you securely assemble the shelving and guarantee everything is straight. Incorporate decorative accents to personalize your space, and use storage solutions like bins or baskets to keep things organized. With these tools and accessories, you’ll set up your studio shelving efficiently, creating an attractive and functional environment that suits your style and storage needs perfectly.
How Long Does the Installation Typically Take?
Think of installation as planting a sturdy seed; it usually takes about two to four hours, depending on your assembly efficiency. You’ll want to follow safety precautions diligently to guarantee a smooth process and avoid setbacks. With careful planning and patience, you’ll see your studio transform quickly, like a garden blooming, giving you the perfect space to create without unnecessary delays.
Can the System Be Expanded Later?
Yes, your studio shelving system is designed to be expandable, allowing you to easily add more units later. Its modular, expandable design supports future modifications, so you won’t need to replace the entire setup as your storage needs grow. You can confidently plan for future expansion, knowing your system can adapt seamlessly, making it a flexible and long-lasting solution for your studio organization.
Is the Setup Suitable for All Studio Sizes?
Is this setup suitable for all studio sizes? Absolutely, yes. It’s designed to adapt to various spaces, making it ideal regardless of your studio’s aesthetics or shelving durability needs. Whether you have a compact or expansive studio, this system offers flexibility and strength. You can customize it to match your aesthetic preferences while ensuring the shelves hold up over time, making it a smart choice for any studio size.
How to Troubleshoot Common Setup Issues?
To troubleshoot common setup issues, start by checking aesthetic considerations, ensuring your shelving aligns with your studio’s visual flow. Confirm all safety precautions are followed, like securing heavy items properly. If shelves wobble or items fall, tighten screws or brackets. Regularly inspect for damage or wear. Adjust shelf height or spacing if needed for better access and appearance. Staying attentive to these details helps prevent problems and keeps your studio safe and stylish.
wall-mount heavy-duty shelving brackets
As an affiliate, we earn on qualifying purchases.
As an affiliate, we earn on qualifying purchases.
Conclusion
By applying this setup rule, you’ll find your studio shelving system becomes as organized as a well-tuned orchestra. It’s a simple yet powerful trick that streamlines the process and saves you time. Think of it like assembling a puzzle—once you know the key piece, everything else falls into place effortlessly. Keep this rule in mind, and your studio will stay tidy and efficient, ready for any creative endeavor that comes your way.
moisture-resistant storage shelves
As an affiliate, we earn on qualifying purchases.
As an affiliate, we earn on qualifying purchases.
As an affiliate, we earn on qualifying purchases.