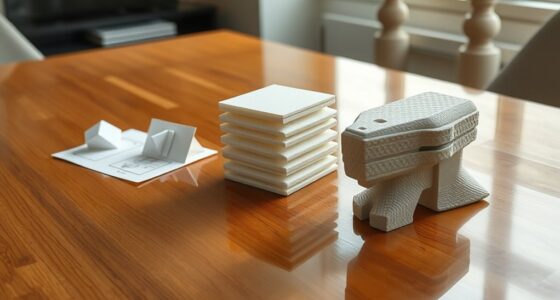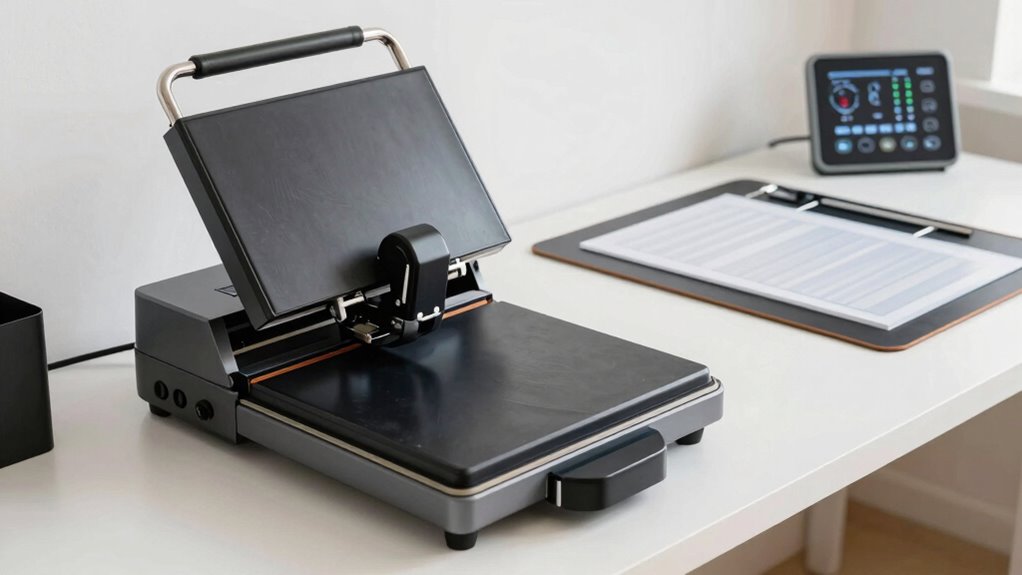

To improve your heat press workflow quickly, focus on precise material alignment using guides or registration marks, ensuring everything is centered and wrinkle-free. Additionally, calibrate your pressure correctly to avoid uneven transfers and damage. Consistently preparing materials and verifying settings helps prevent rework and maintains quality. When you get these setup rules right, your process becomes faster and more reliable. Keep going, and you’ll discover even more tips to optimize every step.
Open a free Amazon Business account
Business pricing, bulk buying and tax-exempt orders.
As an affiliate, we earn on qualifying purchases.
Key Takeaways
- Use registration marks or guides for quick, accurate material alignment.
- Perform a pressure calibration test on a sample before production.
- Ensure materials are flat, wrinkle-free, and properly centered.
- Standardize setup procedures for consistent workflow efficiency.
- Regularly check and adjust pressure settings to maintain optimal adhesion.
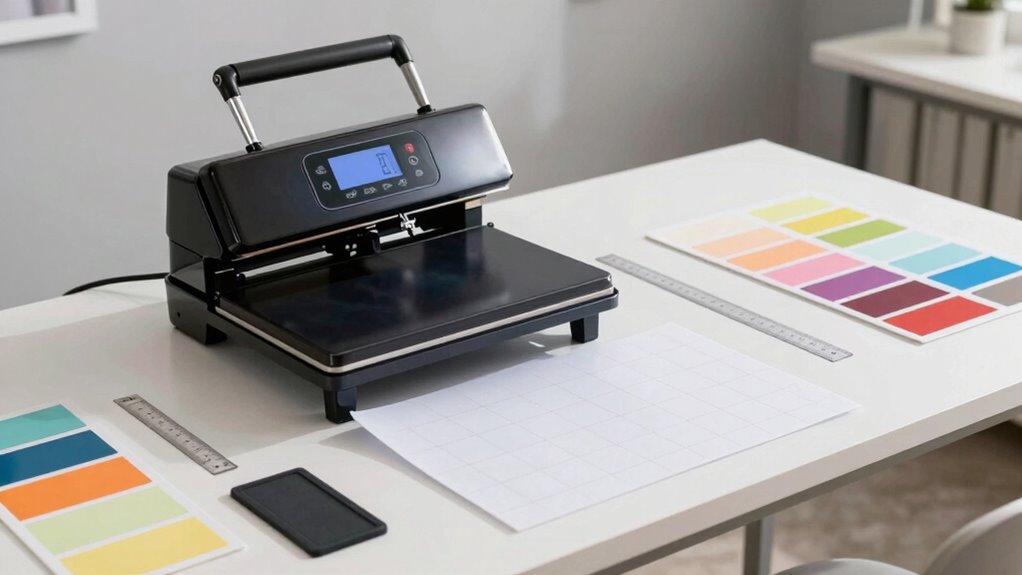
Have you ever wondered how to guarantee a smooth and efficient heat press workflow? The key lies in mastering a simple but effective setup rule that can dramatically improve your results: start with proper material alignment and accurate pressure calibration. When you focus on these two critical steps, you minimize errors, reduce wasted time, and ensure consistent quality in every press. Paying attention to consistent workflow practices helps maintain high standards and streamlines your process even further. Material alignment is your first priority. Before applying heat, double-check that your design is centered and straight on the substrate. Misaligned materials can ruin an entire batch, wasting both time and resources. Take the extra moment to position your items carefully, using guides or registration marks if available. Proper alignment also means ensuring the material is flat and free of wrinkles. These imperfections can cause uneven heat transfer, leading to blurry images or incomplete transfers. When your material is aligned correctly from the start, you set a solid foundation for a smooth workflow, preventing adjustments later in the process. Additionally, proper material preparation can significantly reduce the need for rework and improve overall efficiency. Being mindful of material consistency ensures that each item receives the same treatment and quality. Incorporating quality control checks at each stage also helps catch potential issues early, preventing larger problems during pressing. To further enhance your workflow, consider implementing standardized procedures to create a repeatable process for every job. Next, focus on pressure calibration. Every heat press has its own ideal pressure setting, which depends on the material type and thickness. Incorrect pressure can cause poor adhesion, scorching, or incomplete transfers. Before starting a production run, test your pressure settings on a sample piece. Use a pressure calibration tool if possible, or perform a quick test to see if the heat and pressure combined produce a clean, sharp transfer. Adjust the pressure dial until you find that sweet spot where the material adheres well without damage. Consistent pressure calibration ensures that each press delivers uniform results, reducing the need for reworks and saving time.
heat press material alignment guides
As an affiliate, we earn on qualifying purchases.
As an affiliate, we earn on qualifying purchases.
Frequently Asked Questions
How Long Does It Typically Take to Implement the Setup Rule?
It usually takes about 15 to 30 minutes to implement the setup rule, depending on your experience. You’ll start by selecting the right materials and ensuring proper temperature calibration, which are essential steps. During this process, you’ll set your heat press parameters and double-check everything. Once you’re familiar with these steps, future setups become quicker, helping you optimize your workflow and produce consistent, high-quality results efficiently.
Can the Setup Rule Be Customized for Different Heat Press Models?
Did you know that 65% of heat press operators customize setup rules? You can definitely adapt the setup rule for different heat press models, thanks to the variety of customization options available. Model compatibility varies, but most setups can be tailored to fit specific machines. This flexibility guarantees you optimize your workflow regardless of the heat press model you use, making your process more efficient and reducing setup time.
Does the Setup Rule Require Additional Tools or Equipment?
The setup rule doesn’t require additional tools or equipment beyond your standard tools checklist. You just need to guarantee equipment compatibility by checking your heat press’s specifications. Properly aligning your existing tools helps streamline the workflow, avoiding extra setup steps. As long as your equipment matches the recommended parameters, you can implement the setup rule efficiently, saving time without needing special or extra tools.
How Often Should the Setup Process Be Reviewed or Updated?
You should review your setup process regularly, ideally every few months, to guarantee maximum workflow. Consistent setup frequency adjustments help identify inefficiencies and adapt to new equipment or designs. By regularly refining your setup, you reduce time spent on adjustments, increase productivity, and maintain high-quality results. Make it a habit to evaluate and refine your process so your heat press workflow remains efficient and smooth as your needs evolve.
Are There Common Mistakes to Avoid When Applying the Setup Rule?
You might think avoiding setup mistakes is obvious, but ironically, inconsistent setup can sabotage workflow efficiency. Watch out for neglecting setup consistency—skipping calibration or rushing through adjustments leads to uneven prints and delays. Don’t overlook detailed checks or assume your setup is perfect; small errors compound. To keep your workflow smooth, double-check every step and maintain consistency, preventing costly mistakes that undermine your entire process.
pressure calibration tool for heat press
As an affiliate, we earn on qualifying purchases.
As an affiliate, we earn on qualifying purchases.
Conclusion
By following this setup rule, you’ll streamline your heat press workflow and save valuable time. Implementing efficient procedures can boost productivity by up to 30%, allowing you to complete more projects in less time. Remember, a well-organized setup isn’t just about speed—it’s about consistency and quality. So, take a moment to refine your process today, and watch your heat press work become faster, smoother, and more reliable.
As an affiliate, we earn on qualifying purchases.
As an affiliate, we earn on qualifying purchases.
Fall Picks
fall essentials
As an affiliate, we earn on qualifying purchases.