
To create print-ready files, you should always embed proper color profiles like CMYK to guarantee accurate color reproduction across devices. Set up bleed by extending artwork beyond the trim line, typically 0.125 inches, and include crop marks for precise trimming. Use high-resolution images and save in suitable formats like PDF, TIFF, or EPS. If you keep these guidelines in mind, you’ll produce professional files that meet printer standards and achieve high-quality results.
Key Takeaways
- Embed the correct color profiles, such as CMYK, to ensure accurate color reproduction across devices.
- Use high-resolution settings (300 DPI) when exporting files for print to maintain image quality.
- Set up bleed margins (typically 0.125 inches) beyond the trim line to prevent white borders after trimming.
- Incorporate crop marks in your files to guide precise trimming of printed materials.
- Confirm printer specifications for file formats, color profiles, and bleed requirements before finalizing the files.

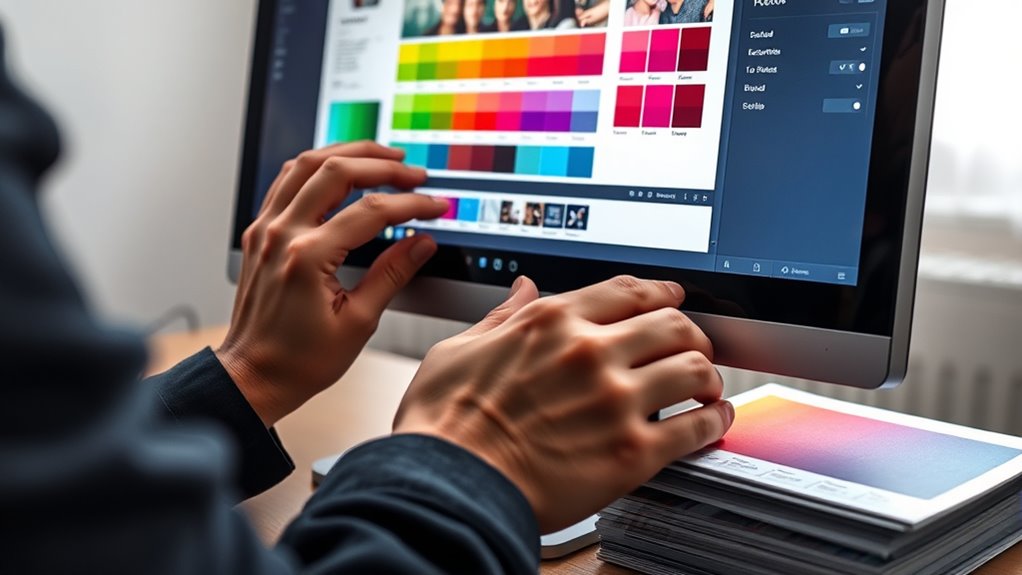
Have you ever wondered what it takes to turn your digital designs into professional print-ready files? It all starts with understanding how to properly prepare your artwork so it looks perfect when printed. One of the most critical steps is managing color calibration. Your monitor’s colors can look vibrant and accurate, but that doesn’t mean they’ll match the printed result. By calibrating your display, you ensure that the colors you see on screen are true to what will appear in print. This involves using calibration tools and software to set your monitor’s color profile correctly, aligning it with industry standards. When your colors are calibrated, you’re more confident that your design’s hues will translate accurately, reducing surprises and reprints.
Calibrate your monitor to ensure on-screen colors match your printed results accurately.
Beyond color calibration, selecting the right file format options is essential for creating print-ready files. Not all formats are suitable for printing; some may compress or alter your artwork, leading to loss of quality. The most common formats for print are PDF, TIFF, and sometimes EPS. PDFs are versatile and widely accepted because they preserve your layout, fonts, and images in a single, manageable file. When exporting a PDF, make sure to choose the correct settings—such as high resolution (300 DPI), embedding fonts, and including crop marks and bleed, if necessary. TIFF files are excellent for images and raster graphics, offering lossless quality that keeps every detail intact. EPS files are often used for vector artwork, ensuring sharp lines and scalability without quality loss.
File format options should be chosen based on your project’s needs. For example, if your design includes vector graphics, a PDF or EPS will maintain the sharpness of your lines and shapes. If your project is image-heavy, TIFFs might be preferable for detailed, high-quality printing. Always check with your printer to confirm their preferred file formats and specifications. They might also specify color profiles to embed within your files, such as CMYK, which is standard for printing, to ensure your colors are accurately reproduced in the physical copy. Additionally, understanding color profiles and their role in maintaining color fidelity across devices can significantly improve your final output.
In addition to format choices, don’t forget to add bleed settings to your files. Bleed extends your artwork beyond the trim line, avoiding unwanted white borders after trimming. Typically, a bleed of 0.125 inches (3 mm) is standard, but confirm your printer’s requirements. Setting up your file with proper bleed and crop marks makes the printing process smoother and guarantees a professional finish. When you combine proper color calibration, the right file format options, and correct bleed settings, you’re setting yourself up for a flawless print that meets industry standards.
Top picks for "creat print ready"
Open Amazon search results for this keyword.
As an affiliate, we earn on qualifying purchases.
Frequently Asked Questions
What Are Common Color Profile Mistakes to Avoid?
You should avoid using incorrect or inconsistent color profiles, as this disrupts color management and causes color inconsistency across prints. Always embed the correct color profile suited for your printer and paper type. Neglecting to convert files to the right profile or mixing profiles can lead to dull or inaccurate colors. To guarantee color consistency, double-check your profiles before sending files to print, and maintain uniformity throughout your project.
How Do I Determine the Correct Bleed Size?
You need to determine the correct bleed size by checking your printer’s requirements or industry standards, typically an extra 0.125 inches around the edges. Measure precisely, adding this edge extension to your design. This bleed measurement makes certain your artwork extends beyond the trim line, preventing unwanted borders. Don’t cut corners—accurate bleed size guarantees a flawless, professional finish, leaving no room for surprises on the final product.
Can I Convert RGB Files to CMYK Easily?
Yes, you can convert RGB files to CMYK easily using your design software like Adobe Photoshop or Illustrator. This process involves color conversion, ensuring your file’s color profile matches the printer’s requirements for proper file compatibility. Simply open your RGB file, go to the color settings, and select CMYK as the color mode. Always check the results and adjust colors if needed to maintain print quality.
What Software Tools Are Best for Creating Print-Ready Files?
You should use Adobe InDesign, Illustrator, or Photoshop for creating print-ready files. These tools support essential file formats like PDF, TIFF, and EPS, guaranteeing your design stays consistent. They also allow you to embed fonts properly, preventing issues during printing. With these programs, you can easily set up bleed, apply color profiles, and ensure your files meet printer specifications, making your print process seamless and professional.
How Do I Check if My File Meets Printer Specifications?
Imagine you’re preparing a brochure, and you want it to look perfect. To check if your file meets printer specifications, guarantee your color calibration matches the printer’s profile and verify the file resolution is at least 300 DPI. Use software tools like Adobe Acrobat or Photoshop to review color profiles and resolution. This way, you confirm your design aligns with the printer’s requirements, avoiding surprises and ensuring high-quality print results.
Conclusion
Creating print-ready files is like preparing a masterpiece for display—every detail matters. By understanding color profiles and bleed settings, you guarantee your design looks professional and vibrant when printed. Remember, a well-prepared file is the foundation of high-quality print work. Take the time to double-check your settings; it’s like fine-tuning an instrument before the performance. With these tips, your print projects will turn out flawless and eye-catching every time.