
To excel in motion and product visualization, you should explore versatile 3D design tools like Blender, Autodesk Maya, and 3ds Max. These programs offer advanced features such as realistic rendering, lighting, textures, and animation workflows like rigging and keyframing. They help you create detailed models and lifelike visuals efficiently. Mastering these tools allows you to produce stunning, engaging visuals. Keep exploring, and you’ll discover even more ways to elevate your projects to the next level.
Key Takeaways
- Popular 3D design tools like Blender, Autodesk Maya, and 3ds Max support advanced rendering and animation workflows for motion and product visualization.
- These tools enable realistic rendering with lighting, textures, and shading to showcase products effectively.
- Integration of techniques like ray tracing and global illumination enhances the photorealism of visualizations.
- Workflow optimization features reduce rendering times, improving efficiency for complex models and animations.
- Mastering these tools helps create compelling visual stories that effectively communicate product features and motion dynamics.
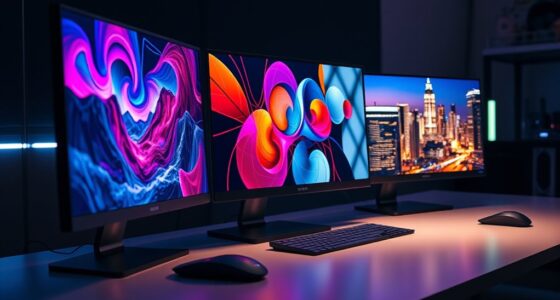
Are you looking to bring your creative ideas to life in three dimensions? 3D design tools have revolutionized how artists, engineers, and hobbyists craft detailed models and prototypes. Whether you’re visualizing a new product or creating captivating motion graphics, mastering these tools is essential. A key aspect of this process involves understanding rendering techniques, which determine how your models appear with realistic lighting, textures, and shading. By applying advanced rendering methods, you can achieve photorealistic visuals that convincingly showcase your designs. This not only enhances presentations but also helps clients or stakeholders grasp your vision more clearly. Additionally, efficient animation workflows streamline the process of bringing static models to life. They allow you to animate components, simulate movements, and create dynamic scenes with ease, making your visualizations more engaging and informative.
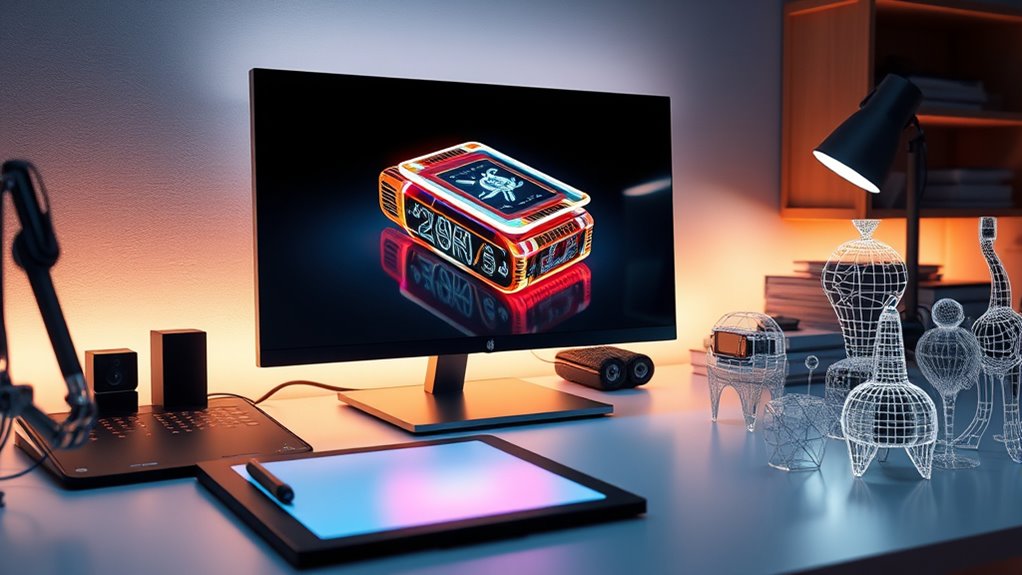
Understanding the importance of contrast ratio can help you enhance the perceived sharpness and clarity of your renders, making your visualizations more striking and realistic. When you explore 3D design, you’ll find that choosing the right software plays a significant role. Popular tools like Blender, Autodesk Maya, and 3ds Max offer robust features for both rendering and animation. These platforms integrate sophisticated rendering techniques, such as ray tracing and global illumination, which add depth and realism to your scenes. They also support a variety of animation workflows, enabling you to rig models, set keyframes, and animate objects seamlessly. As you progress, you’ll learn to optimize your workflows, reducing rendering times and improving efficiency. This is especially important when working on complex models or scenes that demand high-quality visuals. By mastering these workflows, you can produce polished animations and detailed renders faster, giving you more time to focus on creativity and experimentation.
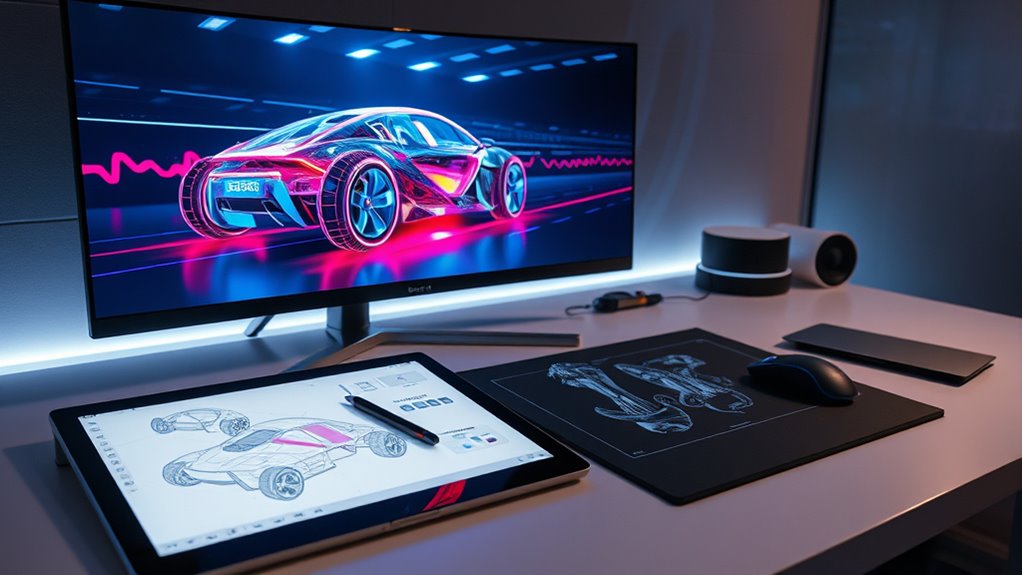
Furthermore, understanding how different rendering techniques impact your final output helps you make informed decisions during the design process. For example, using physically-based rendering can produce more lifelike results, while real-time rendering offers quick previews that facilitate iterative adjustments. Combining these techniques with smooth animation workflows allows you to create compelling visual stories, whether for product demos, marketing videos, or conceptual art. As you gain experience, you’ll develop a keen eye for balancing scene complexity with rendering performance, ensuring your projects look professional without unnecessary delays. Ultimately, mastering these elements empowers you to transform your ideas into stunning, motion-filled visualizations that attract your audience and effectively communicate your message.

The Complete Autodesk 3ds Max Guide: Master 3D Modeling Shading Lighting and Rendering Techniques for Animation Game Design Architecture and Product Visualization With Step By Step Practical Exercises
As an affiliate, we earn on qualifying purchases.
As an affiliate, we earn on qualifying purchases.
Frequently Asked Questions
How Do I Choose the Right 3D Design Tool for My Project?
To select the right 3D design tool, consider your project’s specific needs and your experience level. Look for software compatibility with your operating system and other tools you use. Test the user interface to make certain it’s intuitive and suits your workflow. Opt for a program that offers the features you require, like motion or product visualization, while also providing good support and updates to keep your projects efficient and high-quality.
What Are the Latest Trends in 3D Visualization Technology?
You might think AI and AR are just buzzwords, but they’re actually revolutionizing 3D visualization. Artificial intelligence now automates complex modeling, making workflows faster. Augmented reality allows you to showcase products in real-world settings, enhancing client engagement. These trends are transforming how you create and present designs, making your visuals more immersive and interactive. Embracing these technologies keeps you ahead in the evolving landscape of 3D visualization.
How Can I Optimize My 3D Models for Faster Rendering?
To optimize your 3D models for faster rendering, focus on mesh optimization by reducing polygon count where possible without sacrificing detail. Manage textures efficiently by compressing images and using lower-resolution maps for distant objects. Also, utilize LOD (Level of Detail) techniques to switch between model complexities based on camera distance. These steps help streamline rendering, improve performance, and guarantee your visuals look sharp without unnecessary resource consumption.
Are There Free 3D Design Tools Suitable for Beginners?
Think of free software for beginners as stepping stones across a stream—easy to cross yet sturdy enough for your journey. Tools like Blender and SketchUp are perfect, beginner-friendly options that won’t cost you a dime. They offer intuitive interfaces, tutorials, and active communities, helping you learn quickly and build confidence in 3D design. Starting with these free tools can set a strong foundation for your creative projects.
How Do I Ensure Compatibility Between Different 3D Software Platforms?
To guarantee compatibility between different 3D software platforms, you should focus on using common file formats like OBJ, FBX, or STL, which facilitate seamless exchanges. Additionally, check for plugin compatibility, as some tools may require specific plugins to work across platforms. Always export your files in formats supported by all involved software, and update plugins regularly to avoid compatibility issues, making your workflow smoother.
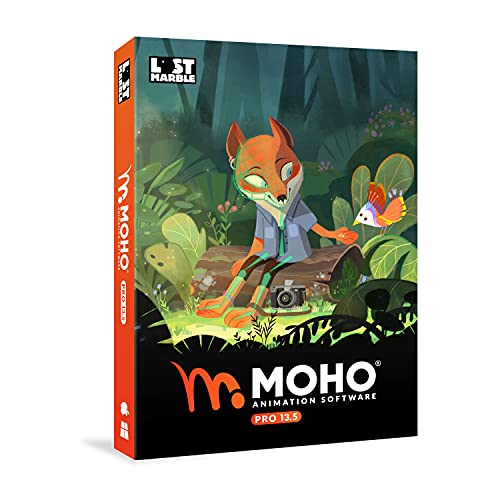
Moho Pro 13.5 | The all-in-one animation tool for professionals and digital artists | Software for PC and Mac OS
Powerful Vector Drawing Tools optimized for animation and Photoshop’s PSD files integration to easily import, rig and animate…
As an affiliate, we earn on qualifying purchases.
As an affiliate, we earn on qualifying purchases.
Conclusion
Now that you’ve explored these 3D design tools, you’re equipped to bring your ideas to life with confidence. Think of these tools as your creative compass, guiding you through complex visualizations just like a lighthouse guides ships in the dark. With practice, you’ll navigate the world of motion and product visualization smoothly, transforming your concepts into stunning realities. Embrace these tools, and watch your designs flourish like a garden in full bloom.
realistic rendering plugins for Blender
As an affiliate, we earn on qualifying purchases.
As an affiliate, we earn on qualifying purchases.

Blender for Beginners Part 1: A reference guide to 3D modeling, shading, and animating workflows with Blender 4.5 LTS
As an affiliate, we earn on qualifying purchases.
As an affiliate, we earn on qualifying purchases.