

Storyboarding for digital products allows you to visually plan and communicate user flows, interactions, and overall experience before development starts. By sketching scenes and mapping key steps, you can identify potential issues early, improve team collaboration, and make certain of alignment with user needs. Using tools like sketches or digital apps, you’ll create clear, engaging storyboards that facilitate feedback and refinement. Keep everything simple, organized, and updated to streamline your workflow—if you keep exploring, you’ll uncover how to master this essential process.
Key Takeaways
- Storyboarding visually maps user interactions and flows, clarifying the product’s structure and enhancing communication among teams.
- Use sketches, annotations, and organized sequences to illustrate key features and decision points in digital products.
- Incorporate stakeholder feedback early and iteratively to refine user journeys and improve usability.
- Leverage storyboards during planning and development to identify gaps, validate ideas, and align team understanding.
- Keep storyboards simple and regularly updated to streamline the design process and prevent misunderstandings.
Understanding the Value of Storyboarding in Digital Design

Have you ever wondered why so many digital designers rely on storyboarding? It’s because storyboarding offers clarity and direction early in the project. When you map out your ideas visually, you can spot potential issues before development begins, saving time and resources. It helps you communicate your vision clearly to clients or team members, ensuring everyone stays aligned. Storyboarding also promotes a user-centered approach by highlighting user interactions and flow. By visualizing the entire user journey, you identify pain points and improve usability. This process fosters creativity and innovation, allowing you to experiment with different concepts quickly. Overall, storyboarding transforms abstract ideas into tangible plans, making your digital product design more efficient, cohesive, and focused from start to finish. Additionally, understanding resources and tools available can further streamline this process and enhance the quality of your design.
Essential Tools and Materials for Effective Storyboarding
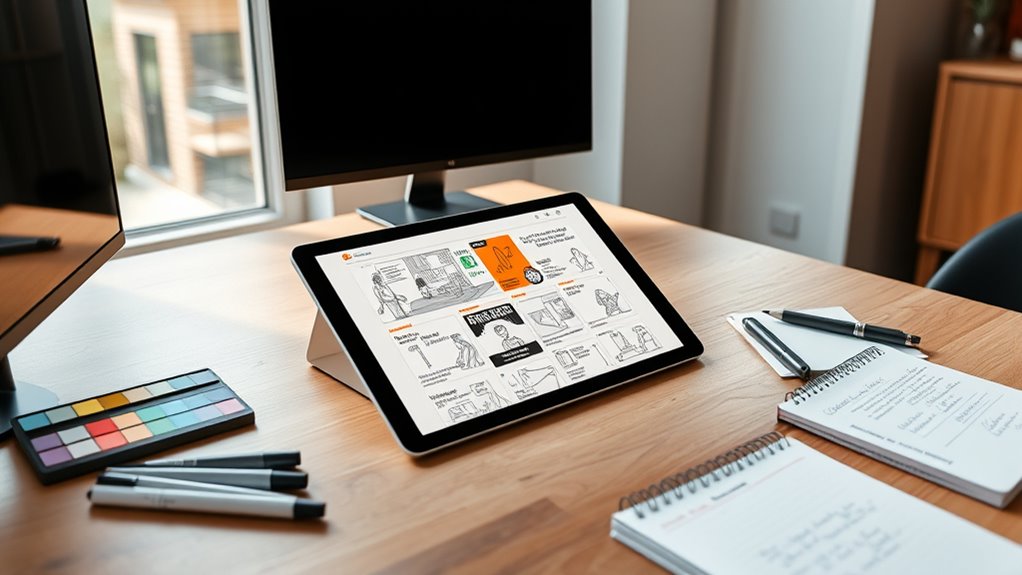
To create effective storyboards, you need the right tools and materials that facilitate clear visualization and easy adjustments. Having quality supplies helps you quickly sketch ideas, refine layouts, and communicate concepts effectively. Incorporating professional equipment can significantly improve your recording quality and presentation. Additionally, using sketching techniques can enhance the clarity and expressiveness of your storyboards. Using visual storytelling principles can help convey your narrative more compellingly. Here are some essential materials:
- Pencils and pens for quick sketches and detailed drawings
- A sketchbook or blank sheets for flexibility and portability
- Markers or colored pencils to highlight important elements
- Sticky notes or digital editing tools for easy modifications
Furthermore, understanding the importance of organized workflow** can help you stay efficient and focused throughout your creative process. Effective organization not only saves time but also encourages artistic exploration**, fostering innovative ideas and better storytelling. These tools streamline your workflow, keep ideas organized, and allow you to focus on storytelling rather than technicalities. Choose what fits your style and project needs to develop compelling, clear storyboards efficiently.
Step-by-Step Process to Create Engaging Storyboards

To create engaging storyboards, you start with planning and sketching your ideas clearly. Then, refine and add details to enhance flow and clarity. This step-by-step process guarantees your storyboard effectively communicates your digital product’s story. Incorporating content sharing features and precious metals investment concepts can also help illustrate your narrative more vividly. Additionally, understanding auditory processing can inspire visual storytelling techniques that improve viewer engagement. Recognizing the importance of emotional expression in storytelling can further create a more compelling and relatable narrative. Exploring sound healing science principles can also inform the mood and atmosphere conveyed through your visuals, enriching the viewer’s experience.
Planning and Sketching
Wondering how to start creating an effective storyboard? Begin with planning and sketching as your foundation. First, define the core message or goal of your story to keep your visuals focused. Then, brainstorm key scenes or steps, jotting quick ideas to capture your flow. Next, sketch rough thumbnails of each scene, emphasizing clarity over detail to visualize the sequence. Incorporating cozy textiles in your planning helps create a warm and inviting mood that aligns with your overall concept. Additionally, understanding emotional tributes and celebrations can enhance storytelling by evoking genuine connections with your audience. Recognizing the importance of AI-powered virtual reality in e-learning can inspire immersive visual concepts that captivate viewers. Paying attention to color schemes and how they influence viewer emotions can further refine your storyboard. Finally, organize your sketches in order, ensuring smooth progression and logical development. Incorporating attention to detail in your planning helps identify potential issues early and ensures your storyboard aligns with your project goals.
Refining and Detailing
Once you’ve sketched out your basic scenes, refining and detailing your storyboard transforms rough ideas into engaging visuals. Focus on clarifying actions, expressions, and key interactions to guarantee your story is easily understood. Add details like facial cues, body language, and background elements to enhance realism and emotional impact. Use clean lines and consistent styling to improve readability. Incorporate annotations or notes to highlight important cues or progressions. Adjust camera angles or framing to emphasize focus points. Simplify cluttered scenes to maintain clarity. Remember, this stage helps you spot gaps or inconsistencies before moving forward. By refining and detailing, you make your storyboard more vivid and compelling, setting a solid foundation for the next steps in your digital product design. Additionally, paying attention to visual storytelling techniques ensures your narrative resonates more deeply with your audience.
Tips for Communicating User Flows and Interactions

Clear communication of user flows and interactions is essential for guaranteeing everyone involved understands how your digital product functions. When you clearly illustrate these flows, it minimizes confusion and aligns your team’s efforts. Use simple, consistent visuals to map out each step and interaction, making complex processes easier to grasp. Incorporate annotations to explain decision points and shifts, and keep your storyboards organized for quick reference. Remember, clarity is key—avoid clutter and focus on the main interactions. To enhance understanding, consider inviting feedback early and adjusting your visuals accordingly. This collaborative approach helps guarantee your team and stakeholders stay on the same page, leading to a smoother development process.
Clear user flow visuals and feedback ensure smooth, aligned product development.
- Use clear, simple visuals
- Add helpful annotations
- Keep storyboards organized
- Invite feedback early
Incorporating Feedback and Iterating Your Storyboard

How can you guarantee your storyboard evolves effectively? The key is to actively incorporate feedback and iterate quickly. Share your storyboard with stakeholders, users, and team members to gather diverse perspectives. Be open to critiques and prioritize changes that improve clarity, usability, and alignment with goals. Use the following table to organize feedback:
| Feedback Source | Suggested Changes |
|---|---|
| User Testing | Simplify navigation steps |
| Stakeholders | Clarify product goals |
| Designers | Add visual cues for interactions |
| Developers | Specify technical constraints |
Regularly review and update your storyboard based on this input. Iteration ensures your story remains relevant, user-centered, and ready for development. Staying flexible and receptive transforms a static storyboard into a powerful communication tool.
Common Mistakes to Avoid When Storyboarding

Avoiding common mistakes is essential to creating effective storyboards that communicate your ideas clearly. One mistake is overcrowding your frames with too much detail, making it hard to grasp the main message. Another is inconsistent visuals or unclear annotations, which can cause confusion. Failing to focus on user flow can result in a disjointed experience. Lastly, skipping reviews or feedback sessions might lead to overlooked issues. To improve, keep your storyboards simple and focused, use clear and consistent visuals, prioritize the user journey, and gather input early. Remember, a well-crafted storyboard should quickly convey your concept without unnecessary clutter, keeping everyone aligned and on the same page from start to finish.
Integrating Storyboarding Into Your Development Workflow

You can seamlessly incorporate storyboarding into your development workflow by embedding it into your Agile cycles. Collaborating across teams guarantees everyone stays aligned and contributes to the evolving storyboards. This approach helps streamline your design processes, making development more efficient and responsive to change.
Embedding in Agile Cycles
Embedding storyboarding into Agile cycles requires seamless integration into each phase of development, ensuring that visual planning enhances collaboration and flexibility. By embedding storyboards into sprints, you create a shared understanding of user flows and features, helping teams stay aligned. Incorporate storyboards during backlog refinement to clarify tasks and priorities. During sprint planning, use storyboards to visualize user stories and acceptance criteria. Regularly update storyboards in daily stand-ups to reflect progress and changes. This approach promotes iterative feedback, quick adjustments, and a user-centered mindset. To make it work smoothly, consider:
- Embedding storyboarding tools into your project management software
- Using quick sketches for fast iteration
- Encouraging team members to contribute visuals
- Reviewing storyboards at each sprint review for continuous improvement
Collaborating Across Teams
Integrating storyboarding into your development workflow means fostering collaboration across different teams, such as design, development, and product management. When everyone participates in the storyboarding process, you create a shared understanding of the user journey and project goals. This helps identify potential issues early and aligns team efforts. Use storyboards as a communication tool during meetings, encouraging feedback from all stakeholders. By involving cross-functional teams, you ensure that design concepts, technical constraints, and user needs are addressed simultaneously. Regularly updating storyboards keeps everyone on the same page as the project evolves. This collaborative approach minimizes misunderstandings, accelerates decision-making, and builds a cohesive workflow. Ultimately, integrating storyboarding across teams enhances transparency and improves the quality of your digital products.
Streamlining Design Processes
Incorporating storyboarding into your development workflow can considerably streamline your design processes by providing a clear, visual framework for each stage. It helps you identify potential issues early, align team members, and communicate ideas effectively. By mapping out user journeys and interactions visually, you save time and reduce misunderstandings. Integrate storyboarding at the beginning of your project to set a solid foundation. Use it to validate concepts before development, ensuring everyone shares the same vision. Regularly update storyboards as your project evolves to keep your team aligned. This approach fosters collaboration, improves efficiency, and accelerates decision-making.
- Clarifies project goals and user flows
- Identifies design gaps early
- Enhances team communication
- Speeds up iteration and feedback
Frequently Asked Questions
How Do I Tailor Storyboards for Different Types of Digital Products?
You want to tailor storyboards for different digital products, and it’s important to focus on the unique user experience and functionality of each. For apps, emphasize navigation flows and interactions; for websites, highlight layout and content structure. Adjust your visuals and detail level based on complexity, and always keep user goals in mind. This way, your storyboards will effectively communicate the core features and flow tailored to each product type.
What Are the Best Practices for Storytelling in Digital Product Storyboards?
When crafting storytelling for digital product storyboards, you should focus on clarity, user journey, and emotional engagement. Start with a strong narrative that highlights user needs and solutions. Use visuals that clearly depict interactions, keeping sequences logical and concise. Incorporate user emotions and preferences to make the story relatable. Always prioritize simplicity, ensuring your story guides viewers seamlessly through the product experience, fostering understanding and interest.
How Can Storyboarding Improve Collaboration Between Designers and Developers?
Your collaboration can skyrocket from good to legendary through storyboarding. It acts like a bridge, making complex ideas crystal clear for everyone involved. When you create shared visuals, you guarantee designers and developers are aligned, reducing misunderstandings and rework. It’s like having a roadmap that everyone can follow, transforming team efforts into a seamless symphony of innovation. Embrace storyboarding, and watch your projects become more synchronized and successful.
What Metrics Can Evaluate the Effectiveness of a Storyboard?
You can evaluate a storyboard’s effectiveness by tracking stakeholder engagement, noting how often it’s referenced or revised. Look at how well it communicates ideas, which can be gauged through feedback and clarity. Measure the reduction in misunderstandings or rework during development. Additionally, assess whether the storyboard helps meet project timelines and goals. These metrics show if your storyboard facilitates better collaboration and streamlines the design process.
How Do I Adapt Storyboards for Agile Development Cycles?
You adapt storyboards for agile development by making them flexible and iterative. Break your storyboard into smaller, manageable sections or user stories, and update them regularly based on team feedback and sprint progress. Collaborate closely with developers and designers, ensuring the storyboard remains a living document. Use visual cues and annotations to highlight priorities and changes, helping everyone stay aligned and adapt quickly as project needs evolve.
Conclusion
By mastering storyboarding, you can enhance your digital products’ user experience and streamline development. Did you know that teams using storyboards report a 30% faster project turnaround? Embrace this visual approach to communicate ideas clearly, catch potential issues early, and foster collaboration. With consistent practice, you’ll craft engaging, user-centered designs that stand out. Keep refining your skills, and watch your projects become more efficient and impactful.