To craft effective moodboards for projects, identify your main purpose and gather diverse visual references like images, textures, and color swatches that convey the desired mood. Choose a cohesive color palette, select fonts that match your style, and incorporate textures and patterns for depth. Organize your visuals clearly, add annotations if needed, and refine the layout by removing clutter. If you want to master the art of creating compelling moodboards, explore the detailed strategies that follow.
Key Takeaways
- Gather diverse inspiration and references to clearly convey the desired mood, style, and tone.
- Use a cohesive color palette, textures, and typography aligned with project personality and industry trends.
- Organize visuals logically with balanced layout, focal points, and annotations for clarity.
- Keep the moodboard simple by removing unnecessary elements and emphasizing core concepts.
- Prepare an engaging presentation, encourage feedback, and refine the moodboard based on stakeholder input.
Understanding the Purpose of Your Moodboard
Have you ever wondered why you’re creating a moodboard in the first place? Knowing its purpose helps you stay focused and intentional. A moodboard isn’t just about collecting pretty images; it’s a visual tool that communicates your project’s mood, style, and tone. It clarifies your ideas and aligns your team or clients around a shared vision. It also acts as a creative reference, providing a clear direction throughout your project. Whether you’re designing a space, branding a product, or planning a photo shoot, your moodboard serves as a reference point throughout the process. It helps you identify what works and what doesn’t early on, saving time and effort. By understanding its purpose, you guarantee your moodboard guides your project effectively, making your creative journey more organized and purposeful. Additionally, understanding support hours for entertainment venues can help you plan visits and maximize your experience. Recognizing the benefits of visual communication enhances the effectiveness of your moodboard by making your ideas clearer and more compelling. For example, incorporating Kia Tuning elements can inspire your creative theme, ensuring your project reflects a dynamic and personalized style. Moreover, being aware of trending topics in anime movies can provide inspiration for visual themes or mood concepts.
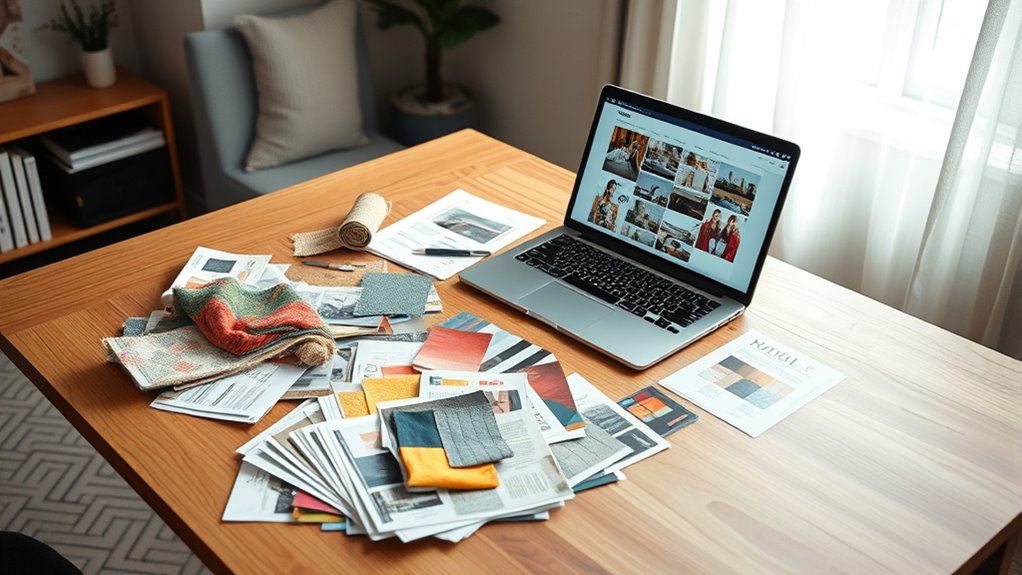
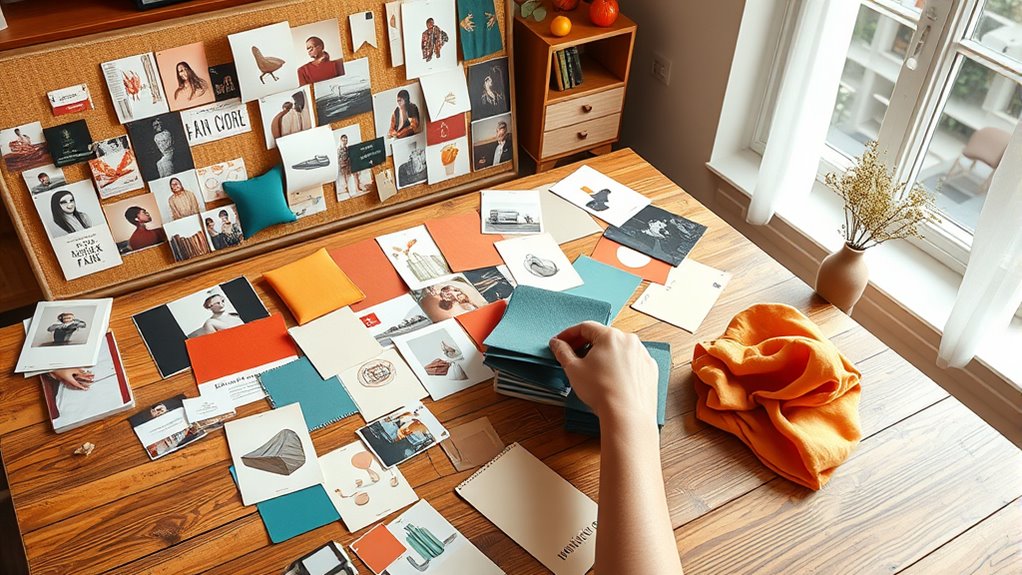
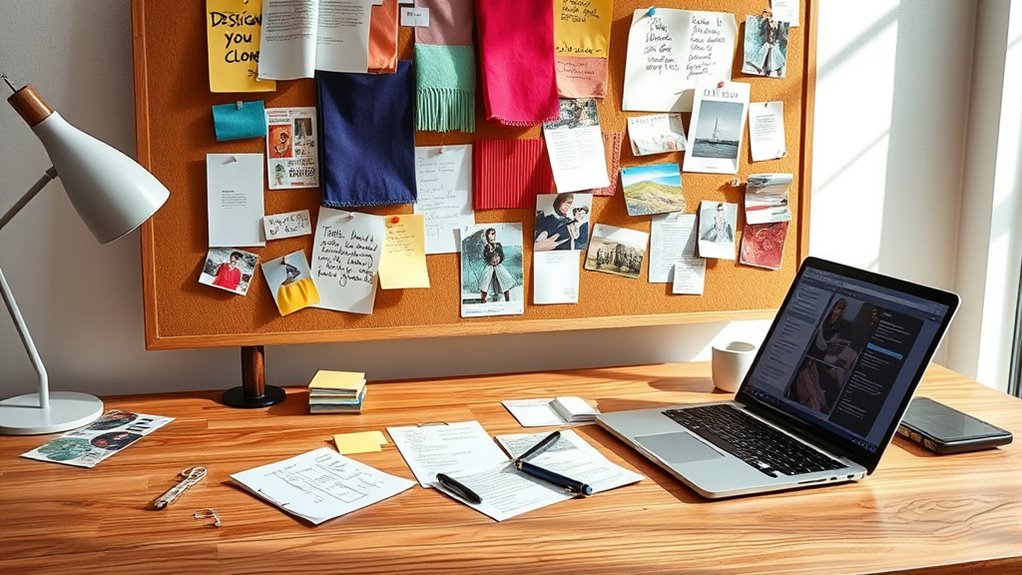
Gathering Inspiration and Visual References
To create a compelling moodboard, gathering diverse inspiration and visual references is essential. Start by exploring various sources like magazines, websites, social media, and even nature. Collect images, textures, color swatches, and patterns that resonate with your project’s vision. Don’t limit yourself—look for contrasts, complements, and unexpected ideas that spark creativity. Save everything that catches your eye, even if it seems unrelated at first; these references can lead to unique combinations later. Organize your collection digitally or physically, making sure to include a mix of styles and themes. Remember, this step is about broad exploration, so keep an open mind and gather as much as possible before narrowing down your choices. Incorporating visual cues can further enhance your moodboard’s effectiveness in conveying your concept. Additionally, paying attention to dog names that evoke specific personalities or aesthetics can inspire thematic elements for your project. Recognizing the importance of design style discovery can help you identify patterns and preferences that shape your overall moodboard. Also, understanding the juice cleanse and detox principles can encourage you to include health-inspired elements that promote freshness and vitality in your visual references. Furthermore, exploring innovative and creative planter designs can spark ideas for incorporating plant-based elements into your project’s aesthetic.
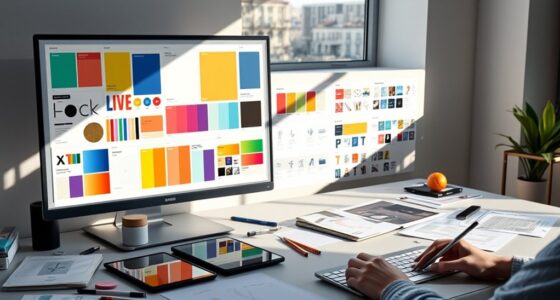
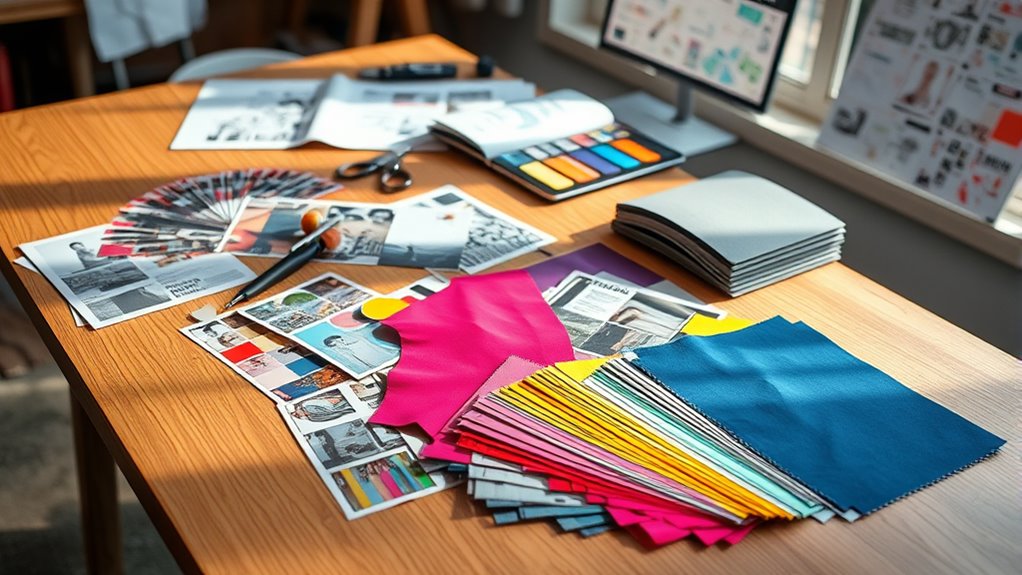
Selecting a Cohesive Color Palette
To create a moodboard that feels unified, you need to choose a color palette that harmonizes well. Balance bright hues with neutral tones to keep the overall look appealing and not overwhelming. When you carefully select and mix colors, your moodboard will have a strong, cohesive visual impact. Incorporating color harmony principles can further enhance the effectiveness of your palette and ensure a visually pleasing result. Additionally, considering the vacuums for luxury vinyl plank floors available can inspire subtle, protective color accents that complement your overall design. Exploring hackathons focused on design and innovation can also provide fresh ideas for creative visual themes. Moreover, understanding industry trends in color usage can help you stay current and relevant in your project. Integrating mindful space and organization strategies can also lead to a more balanced and inspiring workspace within your moodboard context.
Harmonizing Color Schemes
Choosing a cohesive color palette is essential for creating a harmonious moodboard that effectively conveys your vision. To achieve this, select colors that complement each other and reflect your project’s mood. Start by choosing a dominant color that sets the tone, then add secondary shades that support and enhance it. Use color theory principles, like analogous or complementary schemes, to ensure harmony. Limit your palette to a handful of colors—three to five is ideal—to keep the design unified. Test your choices by placing swatches side-by-side to see how they interact. Remember, consistency is key; avoid clashing hues that distract from your overall message. Additionally, understanding color harmony principles and resources and tools available can help you select and test your color schemes more effectively. By harmonizing your color scheme, you create a balanced, visually appealing moodboard that clearly communicates your concept.
Balancing Bright and Neutral
A balanced color palette combines vibrant hues with neutral tones to create visual interest without overwhelming the viewer. You want to select colors that complement each other, so the bright shades catch attention while the neutrals provide a calming backdrop. Think of pairing bold colors like deep reds or bright blues with shades of beige, gray, or white. This contrast helps your moodboard feel lively yet grounded. When choosing your palette, consider the mood you want to evoke—energetic, sophisticated, or serene—and pick neutrals that support that vibe. Keep in mind that too much brightness can feel chaotic, so use neutral tones to give the eye a place to rest. Aim for harmony by balancing pops of color with subtle neutral accents.
Choosing Fonts and Typography Styles

Selecting the right fonts and typography styles is essential in conveying the mood and personality of your moodboard. Your choices influence how viewers perceive your project, setting the tone immediately. Think about the message you want to communicate and choose fonts that support it. Consider the following:
Choosing appropriate fonts enhances your moodboard’s personality and immediately sets the tone.
- Match font styles to your project’s overall vibe, like elegant scripts for luxury or bold sans-serifs for modernity
- Use hierarchy by varying font sizes and weights to guide the viewer’s attention
- Limit your palette to two or three fonts to maintain consistency and clarity
- Guarantee readability, especially for longer text or key information
- Experiment with spacing and alignment to create visual balance and harmony
These steps help you craft a cohesive, impactful visual story through typography.
Incorporating Texture and Pattern Elements
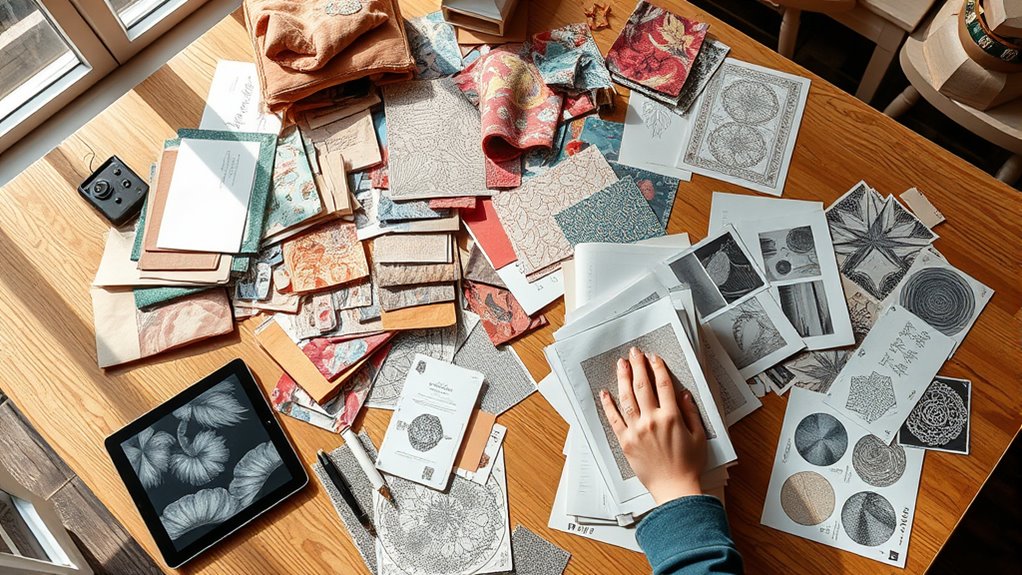
To create a compelling moodboard, you need to select textures that complement each other and enhance the overall feel. Pay attention to pattern scales to maintain visual harmony, and layer different elements to add depth. When you balance these aspects carefully, your moodboard will feel rich and cohesive.
Selecting Complementary Textures
When choosing textures for your moodboard, it’s vital to take into account how different materials and patterns work together to create visual harmony. You want textures that complement each other without overwhelming the overall look. Mix smooth with rough surfaces to add depth and interest. Use contrasting textures to highlight specific design elements. Consider the mood you aim to evoke—soft fabrics for coziness, sleek surfaces for modernity. Keep a balance so no single texture dominates. Experiment with layering different textures to create a tactile experience. Remember, the goal is cohesion, so select textures that enhance your theme and support your color palette. By thoughtfully choosing textures, you craft a moodboard that’s both visually appealing and conceptually unified.
Balancing Pattern Scales
Balancing pattern scales is essential to creating a cohesive moodboard, especially when incorporating both textures and patterns. If you use large, bold patterns alongside smaller, subtler ones, the overall design can feel chaotic or overwhelming. To achieve harmony, vary the sizes of your patterns intentionally. Mix larger, statement patterns with smaller, more delicate ones, ensuring no single element dominates. Consider the visual weight of each pattern—heavier patterns draw more attention, so balance them with lighter, less intrusive designs. Keep a sense of rhythm by repeating similar scales throughout your moodboard. This approach helps maintain visual interest without creating confusion. By thoughtfully balancing pattern scales, you ensure that textures and patterns complement each other, resulting in a unified, engaging moodboard.
Layering for Depth
Layering textures and patterns adds depth and visual interest to your moodboard, making it feel more dynamic and inviting. By combining different materials and designs, you create a richer narrative that guides your project’s vibe. Think about mixing rough and smooth surfaces, like burlap with silk, or bold geometric patterns with subtle textures. This layering helps your moodboard communicate complexity without clutter.
- Use contrasting textures to highlight key elements
- Mix large-scale patterns with smaller, subtle ones
- Incorporate materials that evoke tactile responses
- Balance busy patterns with calmer textures
- Layer elements gradually for a cohesive look
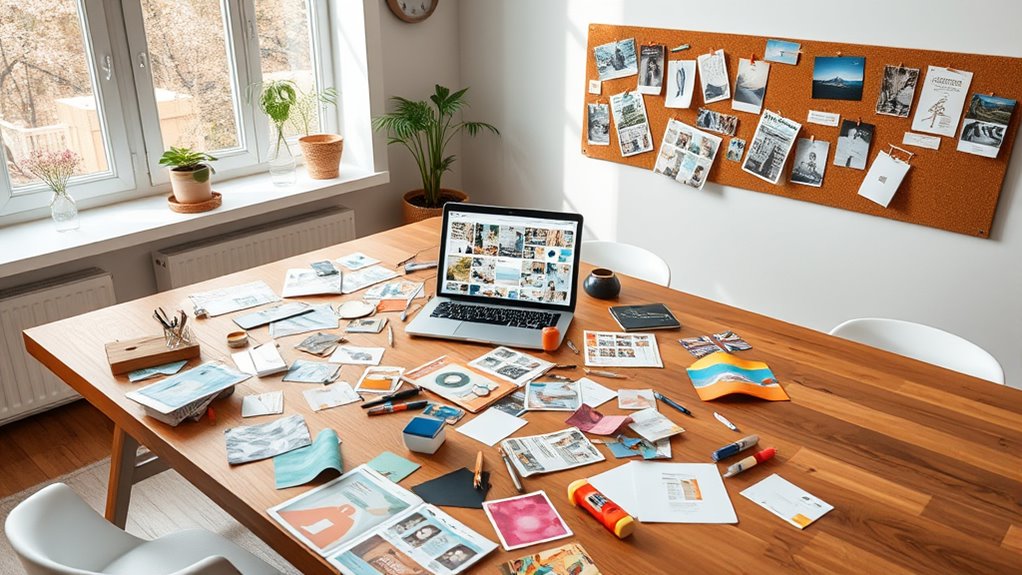
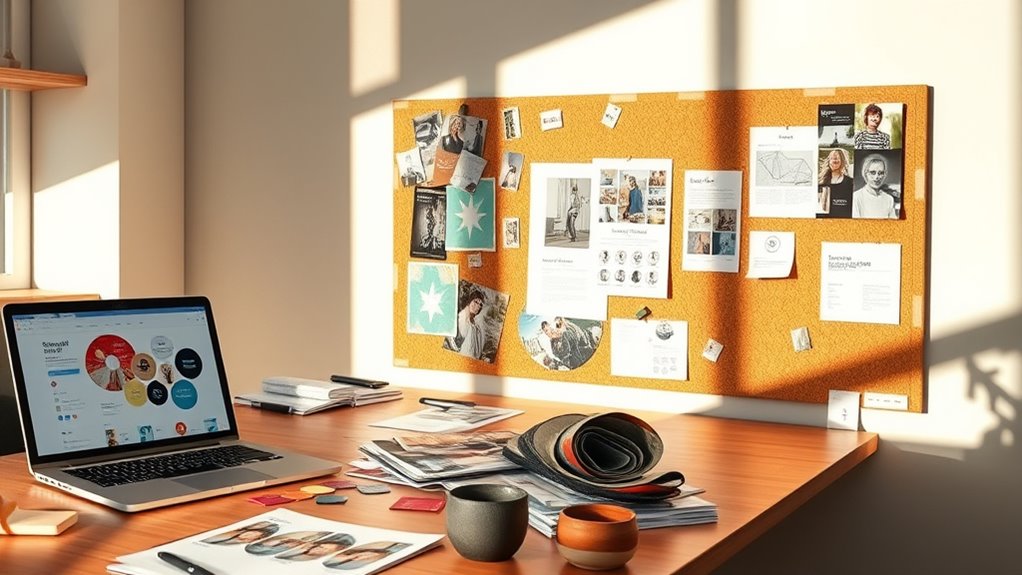
Organizing Your Visuals for Clarity
Organizing your visuals effectively is essential to creating a clear and impactful moodboard. Start by categorizing your images, colors, textures, and fonts into logical groups. This helps you see how different elements relate and avoid clutter. Use consistent spacing and alignment to keep everything neat and accessible. Consider creating sections or zones on your board for different themes or ideas; this makes it easier to compare and refine. Avoid overloading your moodboard with too many visuals—purposeful selection is key. Regularly step back and review your layout to ensure it conveys your intended mood and message. Clear organization guides your eye smoothly through the board, making it easier to identify gaps or overlaps and refine your visual narrative.
Using Layout and Composition Effectively
Effective layout and composition are essential for guiding viewers through your moodboard and emphasizing your key ideas. You want your visuals to flow naturally, drawing attention to what’s most important. To achieve this, consider the balance between images, colors, and space, ensuring nothing feels cluttered. Use focal points to highlight the main themes, and create visual pathways that lead the eye smoothly across the board. Pay attention to alignment and grouping, which help establish order and clarity.
Effective layout guides viewers naturally, highlighting key ideas through balanced, aligned visuals and clear visual pathways.
- Balance visual weight to avoid overcrowding
- Use focal points to highlight key ideas
- Create a visual hierarchy for easy navigation
- Maintain consistent spacing and alignment
- Vary sizes and scales to create interest
Including Supporting Text and Annotations
Including supporting text and annotations can considerably enhance your moodboard by providing context, clarifying ideas, and guiding viewers’ understanding. Use concise labels to identify key images, color schemes, or textures, so viewers grasp their significance immediately. Annotations can highlight specific details or explain your design choices, making your vision clearer. Keep your text minimal but informative, avoiding clutter that distracts from visual elements. Incorporate arrows or icons to connect ideas or emphasize focal points. Consistency in font style and size helps maintain a professional look and ensures readability. Remember, supporting text should complement your visuals, not overwhelm them. Well-placed annotations make your moodboard more accessible, helping others interpret your concept quickly and accurately.
Refining and Simplifying Your Moodboard

To make your moodboard more effective, start by removing clutter and excess visuals that don’t add value. Focus on highlighting the core elements that truly represent your vision. Simplifying your board helps clarify your ideas and makes a stronger impact.
Remove Clutter and Excess
Removing clutter and excess is essential for sharpening your moodboard’s focus. When you eliminate unnecessary elements, your core ideas become clearer, and the overall message strengthens. Start by reviewing each image, color, or material and ask yourself if it truly contributes to your project’s vision. Remove anything that feels out of place or distracts from your main themes. Keep only what aligns with your goals, balancing visual interest with simplicity. This process helps prevent overwhelm and guarantees your moodboard remains a powerful tool for communication.
- Cut out duplicate or redundant images
- Remove colors that don’t fit the palette
- Eliminate overly busy patterns
- Simplify cluttered layouts
- Focus on essential elements only
Focus on Core Elements
Have you ever felt overwhelmed by too many details cluttering your moodboard? To avoid this, focus on core elements that truly represent your project’s vision. Choose a few key images, colors, and textures that evoke the right mood, rather than trying to include everything. Simplifying helps you see the bigger picture clearly and makes your moodboard more impactful. Remove anything that doesn’t directly contribute to your main theme. Prioritize quality over quantity—select visuals that resonate deeply. By refining your choices, you create a streamlined, cohesive board that effectively communicates your concept. Remember, a focused moodboard guides your project and inspires your team without distraction or confusion. Keep it simple, intentional, and true to your vision.
Sharing and Presenting Your Moodboard to Stakeholders
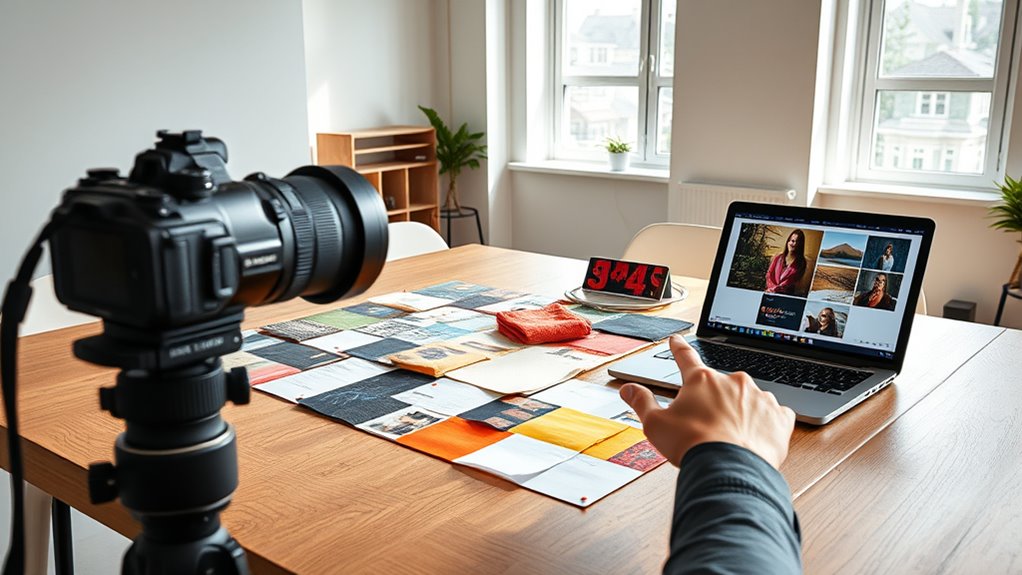
Wondering how to effectively share your moodboard with stakeholders? To make an impact, focus on clarity and engagement. Present your moodboard confidently, highlighting key themes and ideas. Use storytelling to connect visuals to project goals, making it relatable. Be ready to answer questions and gather feedback openly. Consider the setting—choose a quiet space with good visuals for presentations. Keep your explanation concise, emphasizing the mood and tone you’re aiming for. Use visual aids or digital tools to enhance understanding. Finally, stay receptive to suggestions, showing flexibility and collaboration.
- Prepare a brief overview of your concept
- Use visuals to emphasize key points
- Encourage stakeholder input and questions
- Keep the presentation engaging and interactive
- Follow up with a summary or revised version
Frequently Asked Questions
How Do I Tailor a Moodboard for Different Project Types?
To tailor a moodboard for different project types, you should start by understanding the project’s goals and target audience. Choose visuals, colors, and textures that align with these objectives. For creative projects, include inspiring images; for corporate, focus on professionalism. Keep the moodboard flexible to adapt ideas, and guarantee it clearly communicates the intended vibe. This approach helps you create a focused, effective visual guide for each unique project.
What Tools Are Best for Digital Moodboarding?
Think of digital tools as your paintbrushes in a vast digital studio. For moodboarding, apps like Canva and Milanote are your best allies, offering intuitive interfaces and rich libraries. Pinterest is perfect for inspiration and organization, while Adobe Creative Cloud provides advanced editing options. These tools help you craft visuals that resonate, allowing your ideas to blossom into compelling visual narratives effortlessly.
How Can I Ensure My Moodboard Appeals to Diverse Audiences?
To make your moodboard appeal to diverse audiences, you need to include a wide range of visual elements that reflect different cultures, styles, and perspectives. Use inclusive imagery, colors, and themes that resonate universally, and avoid stereotypes. Seek feedback from varied groups to guarantee your moodboard communicates effectively. This approach helps create an inviting, relatable moodboard that connects with a broader audience.
What Common Mistakes Should I Avoid When Creating a Moodboard?
You might find it tempting to overlook details, but avoiding common mistakes is key. Don’t overload your moodboard with too many elements—simplicity often speaks louder. Steer clear of inconsistent themes or color schemes that confuse your message. Remember, clarity and focus help others understand your vision. Also, don’t forget to gather feedback early; it can reveal blind spots. Keeping these in mind guarantees your moodboard effectively communicates your ideas.
How Often Should I Update or Revise My Moodboard During a Project?
You should update or revise your moodboard whenever your project’s direction shifts or new ideas emerge. Regular checks, such as at major milestones or after feedback sessions, help keep it pertinent. Don’t hesitate to make changes often if your vision evolves. This flexibility ensures your moodboard stays a true reflection of your project’s current state, guiding your creative process effectively and inspiring consistent progress.
Conclusion
Now that you know how to craft an effective moodboard, you’re ready to bring your creative vision to life. For example, imagine designing a brand identity for a eco-friendly startup—your moodboard could showcase earthy tones, natural textures, and clean typography, capturing the brand’s essence. By refining your moodboard and confidently sharing it with stakeholders, you make certain everyone’s on the same page, turning your initial ideas into a compelling, cohesive project.