To create seamless patterns in Illustrator, start by designing a simple, vector motif and setting up a clean, grid-aligned document. Arrange your elements to touch or overlap the borders for continuity, then use the Pattern Tool’s “Make” function to generate a repeatable tile. Adjust the edges to guarantee perfect seams and tweak colors for harmony. With practice, you’ll master crafting professional patterns that look flawless when repeated—keep exploring to discover more tips and tricks.
Key Takeaways
- Use the Pattern Tool to define and preview seamless repeating tiles in Illustrator.
- Arrange motifs at tile edges to ensure they align seamlessly when repeated.
- Adjust tile boundaries and tweak artwork for perfect seamless seams using Pattern Options.
- Test the pattern by filling larger shapes and making small adjustments for consistency.
- Save, export, and apply the pattern to various designs, ensuring color harmony and proper scaling.
Top picks for "creat seamles pattern"
Open Amazon search results for this keyword.
As an affiliate, we earn on qualifying purchases.
Setting Up Your Document for Pattern Design
To create seamless patterns in Illustrator, start by setting up a new document with the right dimensions. Choose a square size, like 1000×1000 pixels, to keep things simple and guarantee your pattern tiles evenly. This size provides enough space for your design elements while keeping file management easy. Set the resolution to 300 dpi if you plan to print, or 72 dpi for digital use. Use RGB color mode for digital projects or CMYK for printing. Make sure to enable the grid and snap to grid options—these tools help you align elements precisely later. Keep the background transparent or white, depending on your preference. Proper setup now saves you headaches during the design process and makes seamless pattern creation much smoother.
Creating the Base Motif or Shape
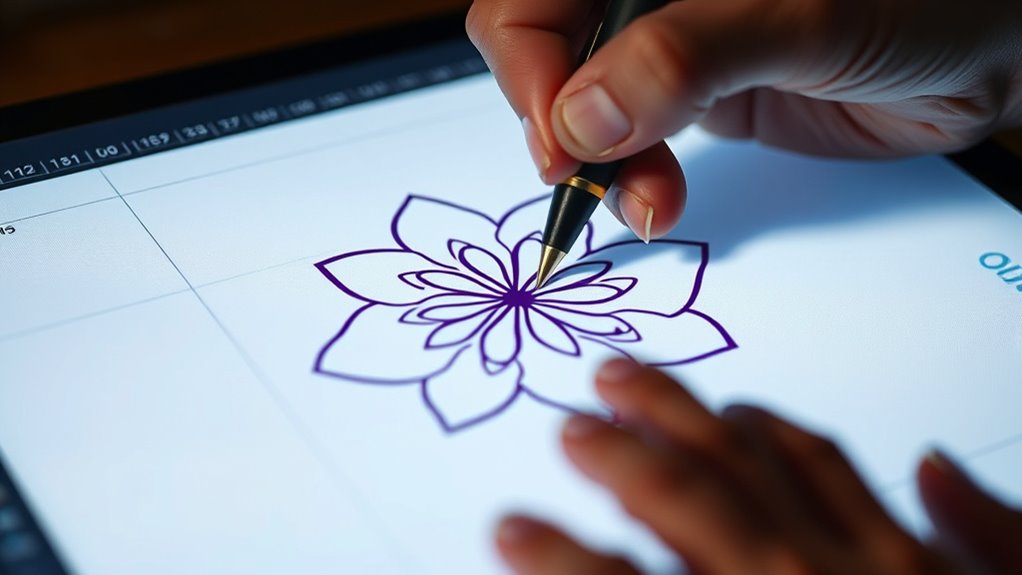
Start by sketching or selecting a simple shape that will serve as the foundation of your pattern. This shape should be clear and easily recognizable, as it forms the core of your design. You can create your own from scratch or choose a geometric form like a circle, square, or triangle. Keep it simple to guarantee seamless repetition later. To help you visualize, here’s a quick overview:
| Step | Action | Tip |
|---|---|---|
| 1 | Choose or draw your shape | Use clean, vector lines |
| 2 | Keep it centered | Ensures easier placement later |
| 3 | Simplify details | Avoid complex elements |
| 4 | Consider symmetry | Creates harmony in the pattern |
| 5 | Save as a symbol or shape layer | For easy editing later |
This base shape sets the tone for a cohesive, repeating pattern. Additionally, understanding gear shifting can help you anticipate terrain changes and create more dynamic, adaptable designs. Incorporating color accuracy considerations ensures your pattern maintains its visual integrity across different displays and mediums.
Arranging Elements for Seamless Repetition
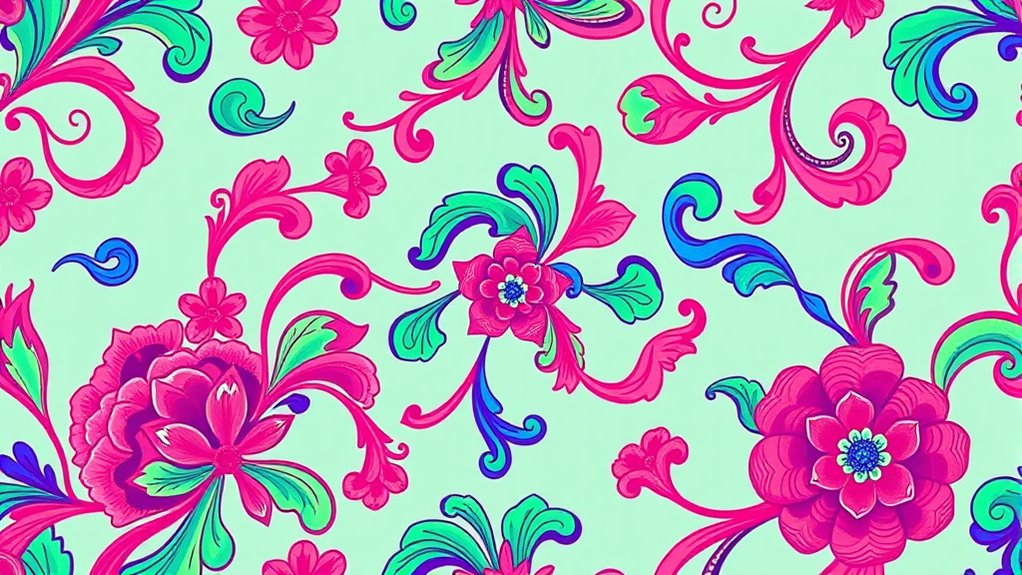
Once you’ve selected your base shape, the key to creating a seamless pattern is arranging your elements thoughtfully. You want to position your motifs so they flow naturally when repeated, avoiding abrupt edges or gaps. Place shapes so they touch or slightly overlap borders, ensuring continuity across the pattern. Symmetry helps, but asymmetrical arrangements can add visual interest if balanced well. Keep in mind the overall rhythm and spacing; too crowded or too sparse can break the seamless feel. Use guidelines or grids to align elements precisely, maintaining consistency. Remember, the goal is to make repeated shapes appear connected without obvious breaks. Adjusting the element placement carefully is essential for achieving a flawless pattern. Proper pattern tuning can enhance the visual flow and cohesion of your design, especially when considering different animation styles that can influence how the pattern is perceived in motion or static form. Additionally, understanding tuning techniques for pattern repetition can help refine the seamless appearance.
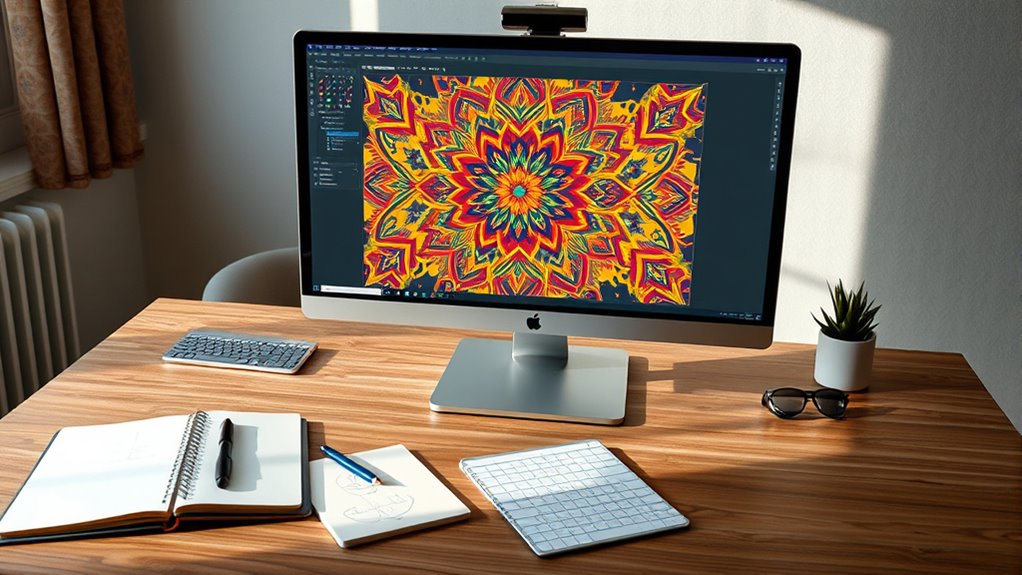
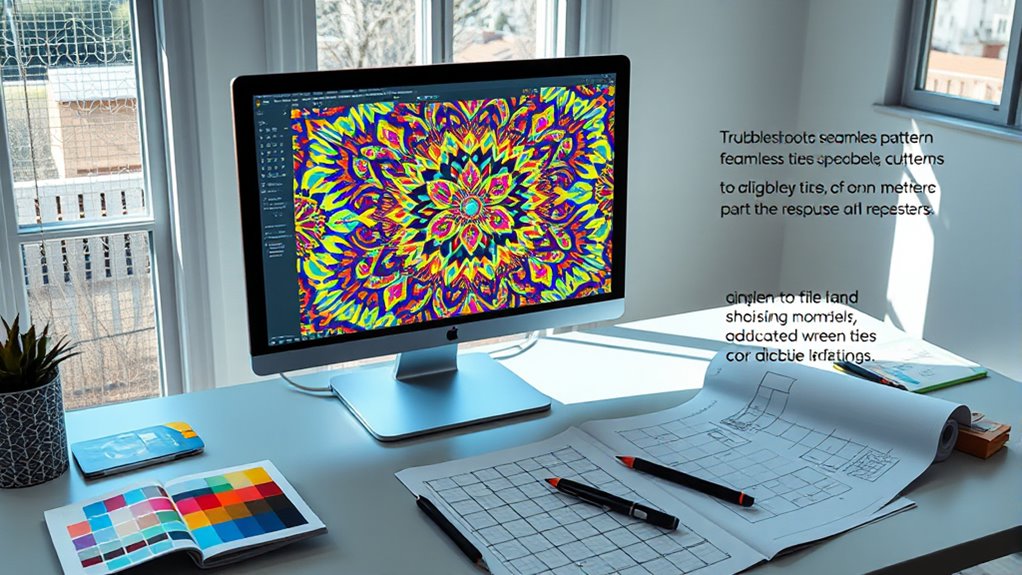
Using the Pattern Tile Tool in Illustrator
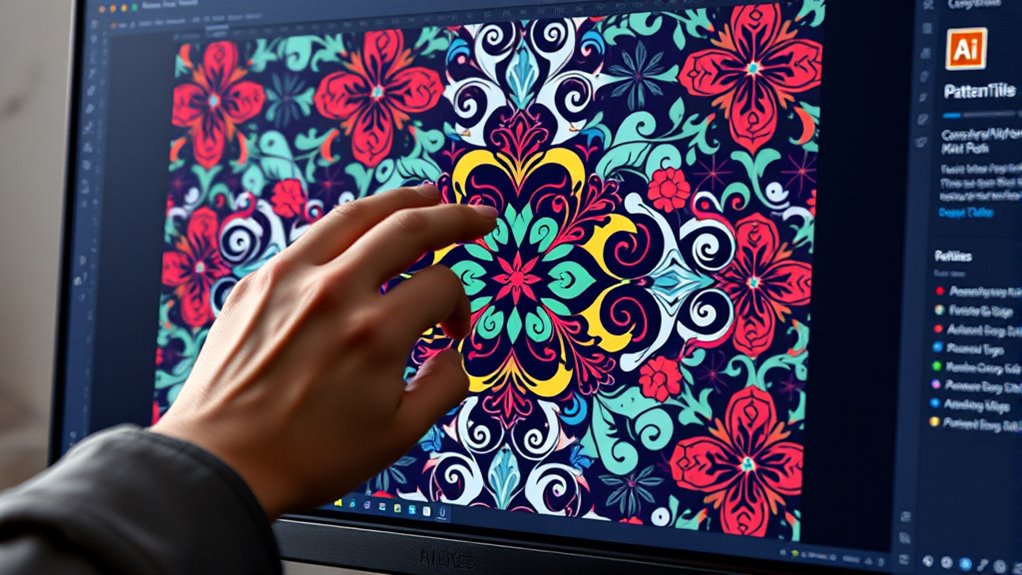
The Pattern Tile Tool in Illustrator simplifies the process of creating seamless repeats by allowing you to define and preview your pattern tile directly. You start by selecting your design elements and opening the Pattern Options panel. Then, click “Make” to generate the pattern tile. The tool displays your pattern within a square, showing how elements will repeat. You can adjust the tile boundaries by dragging the edges, ensuring your pattern tiles seamlessly. This real-time preview helps you see how your design will look when repeated. With the Pattern Tile Tool, you don’t need to manually align or duplicate elements—just focus on shaping your tile for a perfect seamless repeat. It’s an intuitive way to control your pattern’s structure while maintaining precision. Additionally, understanding pattern repetition techniques can greatly enhance the efficiency and quality of your designs, especially when aiming for flow and cohesion in complex patterns.
Adjusting and Refining Your Pattern

Now that you’ve created your pattern, it’s time to adjust and refine it. You can tweak the alignment to guarantee seamless repetition, modify colors to enhance visual interest, and test how the pattern looks when repeated. These steps help you achieve a polished, professional result. Additionally, paying attention to city dynamics can provide insights on how to make your pattern more engaging and relevant. Incorporating texture layering techniques can further elevate the visual appeal of your design, ensuring it stands out effectively. Considering safety features in your pattern design can help create visuals that are both attractive and appropriate for various audiences. Understanding the figurative language techniques used in design descriptions can also inspire more creative refinements.
Tweak Pattern Alignment
To guarantee your pattern aligns perfectly, start by examining the current arrangement and identifying any mismatched edges or seams. Use the selection tool to highlight the pattern tile, then toggle the pattern to see how edges meet. If you notice seams that don’t align, select the pattern tile and use the arrow keys or drag the artwork slightly to adjust its position. Snap the edges together by enabling Smart Guides or Align tools for precision. Check the pattern repeat by filling a larger shape to see how tiles fit together seamlessly. Make small tweaks, then test again. Repeating this process ensures your pattern flows smoothly without visible seams, giving your design a professional, polished look. For optimal results, consider how essential oils for pattern inspiration can subtly influence your creative process. Additionally, paying attention to color schemes and aesthetics can help harmonize your pattern with other design elements. Incorporating texture and depth can further enhance the visual interest of your pattern.
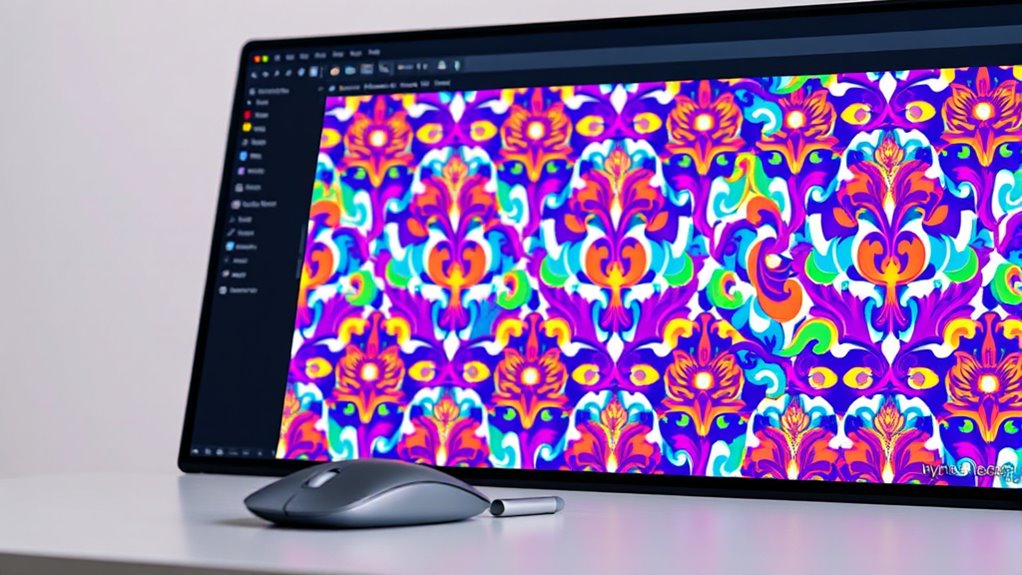
Modify Color Variations
Adjusting and refining your pattern’s color variations can substantially enhance its visual impact. Start by selecting your pattern and opening the Recolor Artwork tool (found under the Edit menu). Use this tool to experiment with different color schemes quickly, shifting hues, saturation, and brightness until you find a palette that complements your design. You can also target specific colors to modify their appearance without affecting the entire pattern. If you want more control, create color groups within the Recolor dialog. Remember, subtle changes often yield the most professional results. Once satisfied, click OK to apply your adjustments. This process allows you to fine-tune your pattern’s colors, ensuring it looks vibrant, harmonious, and tailored to your project’s aesthetic.
Test Pattern Repetition
After refining your color variations, it’s time to test how your pattern repeats seamlessly. Select your pattern tile and go to Object > Pattern > Make. This opens the Pattern Options dialog, where you can see how your design tiles. Drag the edges of the tile to adjust the repeat, guaranteeing elements align perfectly at the seams. Look for gaps or overlaps and tweak your artwork accordingly. Use the grid view to preview how the pattern repeats across larger areas. If you notice any mismatched lines or awkward overlaps, go back and refine those details in your original design. Repeat this process until the pattern tiles flawlessly, with no visible seams or mismatches. This step guarantees your pattern looks continuous and professional when applied to larger surfaces.
Saving and Exporting Your Seamless Pattern
Once you’ve perfected your seamless pattern in Illustrator, saving and exporting it correctly guarantees you can use it across various projects. To save your pattern for future editing, choose File > Save As, and select Adobe Illustrator (*.ai). This preserves all layers and vector data. If you need to share or use the pattern in other applications, export it as a PNG or JPEG by going to File > Export > Export As. For seamless tiling, confirm you select the appropriate resolution and check the “Use Artboards” box if needed. For web use, 72 DPI works well; for printing, opt for 300 DPI. Always keep a master AI file for edits, and save export versions for specific projects. Proper saving and exporting ensure your patterns look professional and are easily accessible.
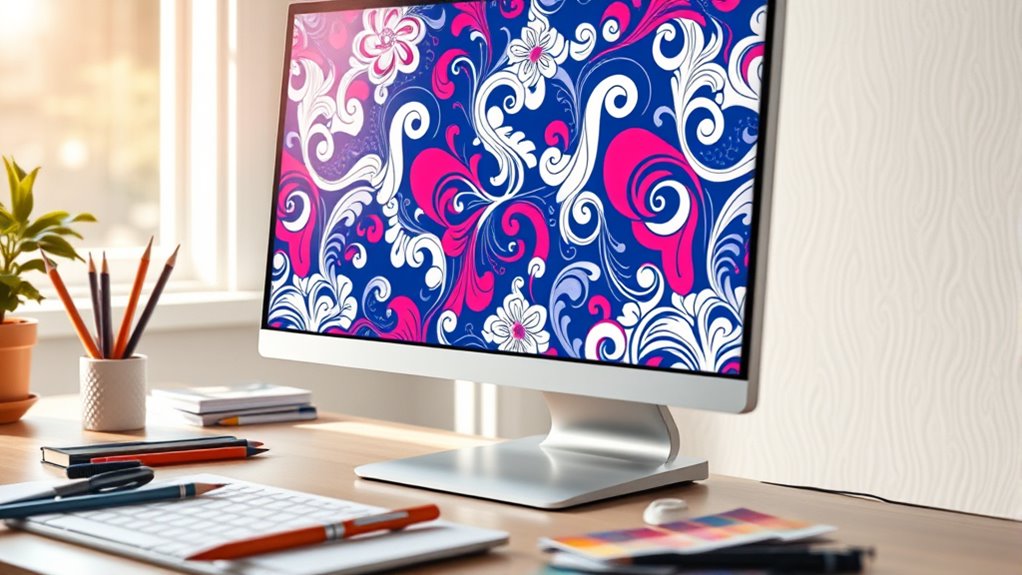
Applying Your Pattern to Different Projects
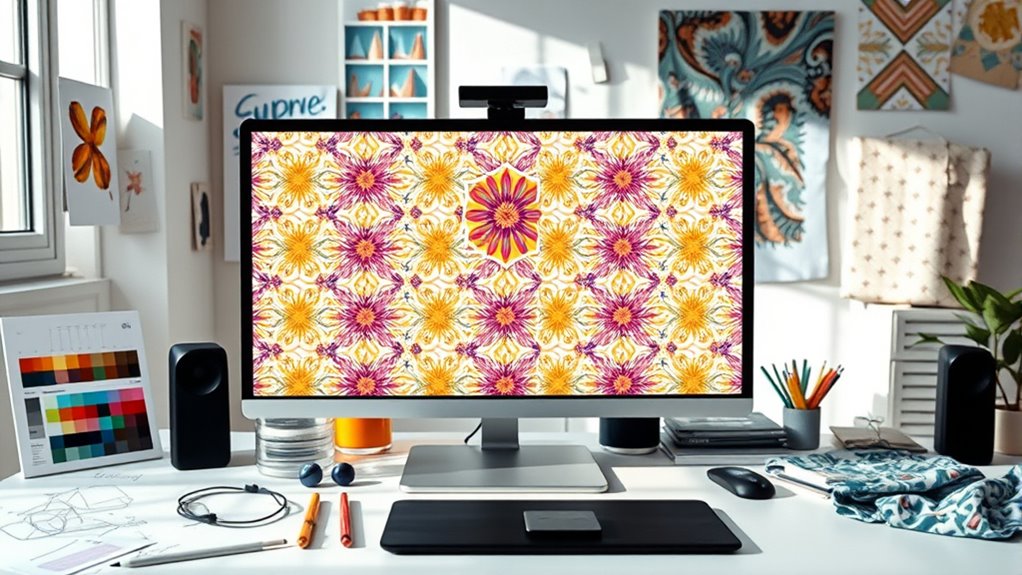
With your pattern saved and exported, it’s time to bring it into different projects. You can easily incorporate your seamless pattern into various designs, such as backgrounds for posters, packaging, or digital artwork. To do this, open your project in Illustrator or another design tool that supports pattern fills. Select the object you want to fill and choose the pattern fill option, then load your saved pattern. Adjust the scale, orientation, or opacity to fit your design’s style. Seamless patterns work well across multiple surfaces, so consider how the pattern interacts with other elements. Use your pattern to add visual interest and cohesion. Remember, experimenting with different sizes and placements can help you discover the best way to utilize your pattern in each project.
Tips for Creating Complex and Dynamic Patterns
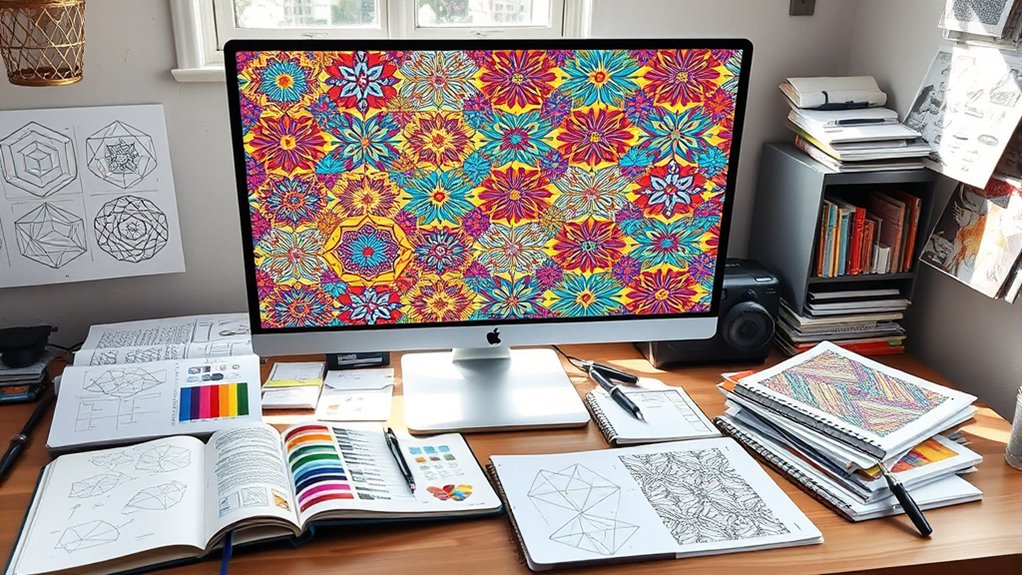
Creating complex and dynamic patterns involves more than just repeating simple shapes; it requires thoughtful layering and variation. Start by combining different elements—vary their sizes, rotation angles, and opacities to add visual interest. Use masking techniques or clipping masks to create overlapping effects that give depth. Incorporate contrasting colors or gradients to make certain elements pop. Experiment with asymmetry and irregular placements to break uniformity and generate energy. Remember, balance is key: avoid clutter by leaving some space empty or grouping related elements. Use the Transform and Rotate tools to create movement within your pattern. By mixing these strategies, you’ll craft patterns that feel lively and engaging, perfect for adding richness and complexity to your designs.
Troubleshooting Common Pattern Design Issues
You might encounter issues with pattern alignments or unwanted gaps, but these are easy to fix with some adjustments. Managing repetition gaps guarantees your pattern tiles connect smoothly, preventing awkward spaces. If your pattern looks distorted, correcting scaling or transformation settings restores its seamless appearance.
Fixing Seam Alignments
Seam alignments are essential for seamless patterns to look continuous and professional. If you notice visible lines or mismatched edges, it’s time to fix those alignments. First, zoom in closely and select the pattern tile. Use the Direct Selection Tool to carefully adjust anchor points along the edges, ensuring they align perfectly. Check the pattern’s edges for any gaps or overlaps, and use the Align tools to correct them. Sometimes, minor shifts in the artwork cause misalignments, so nudging parts into place can resolve the issue. If necessary, use the Snap to Grid or Smart Guides to assist precise adjustments. After making these fixes, test the pattern by repeating it to confirm the seams blend seamlessly. Proper alignment guarantees your pattern looks smooth and professional.
Managing Repetition Gaps
Have you ever noticed gaps or unwanted spaces appearing where pattern tiles repeat? These gaps often happen when the pattern’s artboard isn’t aligned precisely or when your pattern swatch isn’t set to a perfect tile. To fix this, double-check your artboard size matches the pattern tile dimensions exactly. Use the Transform panel to confirm the width and height are consistent. Additionally, make sure your pattern swatch is set to “Grid” and that the tiles align seamlessly. If gaps still appear, try overlapping tiles slightly and then trimming the overlaps in the pattern editing mode. This helps guarantee a seamless transition between repeats. Managing these gaps requires attention to precise measurements and alignment, preventing unwanted spaces and creating a smooth, continuous pattern.
Correcting Pattern Distortion
Pattern distortion often occurs when elements are scaled unevenly or misaligned during the design process, resulting in a warped or stretched appearance when repeated. To fix this, first select your pattern tile and check its proportions. Use the Transform tool to reset the scale to 100% and verify all elements are proportionate. If parts still look distorted, adjust individual components manually, paying close attention to maintaining consistent spacing and alignment. You can also use the Pattern Options panel to preview how your pattern repeats, catching distortions early. Additionally, consider creating your pattern using vector shapes rather than raster images, which helps maintain crispness and prevents distortion upon scaling. Correcting these issues ensures your pattern tiles seamlessly and maintains visual harmony when repeated.
Frequently Asked Questions
How Do I Create Patterns With Multiple Colors Effectively?
When you want to create patterns with multiple colors, start by designing your elements with a variety of hues. Use the Color Guide or Swatches panel to choose complementary or contrasting colors. To guarantee the pattern remains seamless, test tile it regularly and adjust the design as needed. Keep your color palette balanced, and consider using global swatches for easy updates across the pattern.
Can I Edit a Pattern After Saving It in Illustrator?
Think of your saved pattern as a precious gemstone locked in a chest. Yes, you can edit it! Simply double-click the pattern swatch in your Swatches panel to open the pattern in Isolation Mode. Here, you can tweak shapes, colors, and details. When you’re done, exit Isolation Mode, and your pattern updates automatically. This way, your design remains flexible, like a gemstone that can be reshaped without losing its shine.
What Are the Best Practices for Scaling Seamless Patterns?
When scaling seamless patterns, you should always consider how the pattern repeats. To maintain seamlessness, scale your pattern within the Pattern Options panel rather than resizing the entire object. Use the Scale tool while holding Shift to keep proportions consistent. Test your pattern after scaling by applying it to a larger shape. Avoid distortion by adjusting pattern size precisely, ensuring it tiles seamlessly without losing quality or pattern integrity.
How Do I Prevent Pattern Distortion When Resizing?
Imagine your pattern shattering into chaos with a simple resize—that’s what distortion does! To prevent this, hold down the Shift key while resizing to maintain proportions. Alternatively, use the Transform panel to lock the aspect ratio. Always resize from corner handles and double-check your pattern before finalizing. These tricks keep your design pristine, ensuring your pattern stays flawless no matter how much you scale it!
Can I Turn My Pattern Into a Vector Brush or Stamp?
To turn your pattern into a vector brush or stamp in Illustrator, first select your pattern and define it as a pattern swatch. Then, open the Brushes panel and click the New Brush icon. Choose “Art Brush” or “Pattern Brush,” and customize settings as needed. This way, you can easily apply your pattern as a brush stroke or stamp, keeping it scalable and editable.
Conclusion
Now that you know how to create seamless patterns in Illustrator, you’re ready to elevate your designs. Did you know that pattern-based designs can boost visual engagement by up to 60%? By mastering these techniques, you can craft eye-catching, professional-looking patterns that enhance any project. Keep experimenting with complex motifs and refine your skills—your creative possibilities are endless. Get started today and transform your ideas into stunning, seamless patterns that captivate and inspire.