Understanding the difference between vector and raster graphics helps you choose the right format for your projects. Vectors use mathematical equations, making them infinitely scalable without losing quality, ideal for logos and icons. Rasters are pixel-based, better suited for detailed images like photos but can pixelate when resized. Knowing their strengths and limits will guarantee your designs look sharp and perform well. Keep exploring to learn how to make the most of each type.
Key Takeaways
- Vector graphics use mathematical equations for shapes, making them infinitely scalable without quality loss, ideal for logos and icons.
- Raster images are pixel-based, suitable for detailed photographs but lose clarity when scaled up, resulting in pixelation.
- Vector files are generally smaller and easier to edit, while raster files can become large and complex with high resolutions.
- Use vectors for designs requiring scalability and crispness across sizes; use rasters for rich, detailed images like photos.
- Choosing the right format (SVG, AI for vectors; JPEG, PNG for rasters) depends on the project’s scalability, detail, and output needs.
Understanding Vector Graphics and Their Characteristics

Vector graphics are images created using mathematical equations to define shapes, lines, and colors, which makes them highly scalable without losing quality. When you work with vector images, you’re using points, curves, and polygons instead of pixels. This means you can resize them endlessly without any blurriness or pixelation, making them perfect for logos, icons, and illustrations. Vector files are usually smaller than raster files because they store data differently, focusing on the shapes and paths rather than pixel information. They also allow for easy editing—changing colors, shapes, or sizes is straightforward. This flexibility makes vector graphics ideal for designs that need to be used across various sizes and mediums, ensuring your visuals stay sharp and professional every time. Additionally, understanding the differences in file formats helps optimize your workflow and output quality. Recognizing how nutrients are retained in different formats can further enhance your design projects by ensuring clarity and precision. Being aware of vector and raster differences also aids in selecting the appropriate file type for specific project requirements, improving overall efficiency and design versatility. Moreover, knowing the scalability of vector images can help you make better decisions when choosing graphics for diverse applications.
Exploring Raster Graphics and How They Function

Raster graphics are made up of tiny pixels that create images when combined. You’ll notice that their quality depends on resolution, with higher resolutions offering clearer details but larger file sizes. Common formats like JPEG, PNG, and GIF store these images efficiently, each suited for different uses. Understanding the patterns of behavior in how these images are used can help designers optimize their work and avoid issues like pixelation or unnecessary file bloat. Additionally, awareness of AI vulnerabilities in image processing can inform more secure and reliable graphic creation. Moreover, knowledge of water-related themes can inspire creative visual elements in digital design. Recognizing the caffeine content in images, such as those used in advertising, can also influence how engaging or effective visual communication is in digital media. Being familiar with self watering plant pots and their features can even inspire natural motifs in graphic compositions, adding a layer of thematic depth.
Pixel-Based Image Composition
Pixel-based image composition relies on a grid of tiny colored squares called pixels, which together form detailed images. Each pixel holds color information, and when viewed from a distance, these pixels blend seamlessly into a complete picture. Your eye perceives the collective arrangement as smooth, even though it’s made of individual squares. This method is fundamental to digital photography and raster graphics. The table below highlights some key aspects:
| Aspect | Explanation |
|---|---|
| Resolution | Number of pixels determines detail |
| Color depth | Number of colors each pixel can display |
| File size | Larger with more pixels and color information |
| Editing flexibility | Modifying specific pixels allows detailed adjustments |
Understanding pixel composition helps you grasp how raster images are created and manipulated. Additionally, brewing techniques in digital imaging involve precise control over pixel data to achieve desired visual effects. For example, color management ensures consistent color reproduction across different devices and outputs. Recognizing how pixel density influences image quality is crucial for creating high-resolution visuals. Moreover, advances in image compression techniques help reduce file sizes without significantly sacrificing quality, which is vital for efficient digital storage and sharing. Proper understanding of aura can also influence how visual elements are perceived and interpreted in digital design, enhancing overall visual communication.
Resolution and Quality Limits
While raster graphics can produce highly detailed images, their quality is limited by resolution, which refers to how many pixels are packed into an image. When you enlarge a raster image, it often becomes blurry or pixelated because the pixels are stretched beyond their original size. To understand this better, consider:
- Higher resolution means more pixels, resulting in sharper images.
- Low resolution causes pixelation when scaled up, reducing clarity.
- Print quality typically requires at least 300 DPI (dots per inch).
- Digital screens have different resolutions, affecting how images appear on various devices.
- Understanding resolution limits helps in choosing the right graphics for your projects to avoid quality loss. Regularly monitoring projector bulb maintenance can prevent image quality issues caused by degraded equipment.
Common Raster Formats
Have you ever wondered which formats are best for storing and sharing raster images? Common raster formats include JPEG, PNG, GIF, TIFF, and BMP. JPEG is widely used for photographs because it compresses images efficiently, reducing file size with minimal quality loss. PNG supports lossless compression, making it ideal for images needing transparency or sharp details. GIF is popular for simple animations and limited color palettes. TIFF offers high-quality images with minimal compression, often used in printing and professional editing. BMP is an uncompressed format that retains all image data but results in larger files. Each format serves different purposes, so understanding their strengths helps you choose the right one for your project’s needs.
Comparing Image Quality and Scalability

When comparing image quality and scalability, vectors generally deliver sharp, crisp lines regardless of size, whereas rasters can become pixelated or blurry when scaled up. This difference impacts your work directly. Consider these key points:
- Scaling: Vectors retain quality when resized, perfect for logos and icons. Rasters lose clarity when enlarged.
- Detail: Rasters excel at complex images with subtle gradations, like photographs. Vectors struggle with detailed shading.
- File size: Vector files often stay smaller, even with complex designs. Raster files grow larger as resolution increases.
- Use cases: For flexible, scalable graphics, vectors are ideal. For rich, detailed images, rasters are better suited.
Understanding these differences helps you choose the right format for your project’s needs.
File Formats Commonly Used for Vector and Raster Images
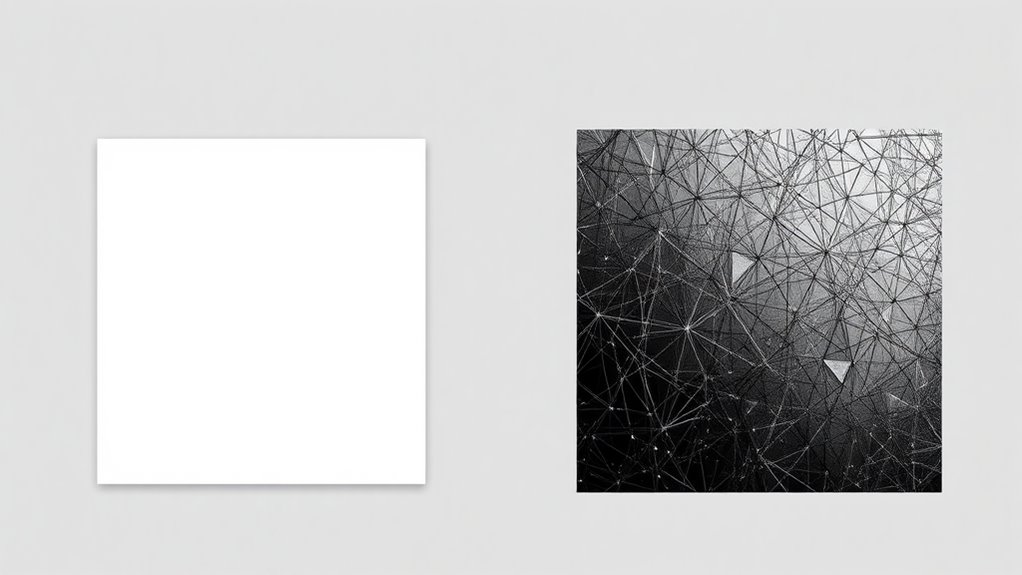
Are you familiar with the most common file formats used for storing vector and raster images? For vectors, the most popular formats are SVG, AI, and EPS. SVGs are widely used for web graphics because they’re scalable and lightweight. Adobe Illustrator’s AI files are standard in professional design but may require specific software to open. EPS files are versatile and compatible across many programs, often used for printing. For raster images, JPEG, PNG, and TIFF are most common. JPEGs are ideal for photographs due to their compression, while PNGs support transparency and are great for web graphics. TIFFs offer high quality for printing but result in larger files. Knowing these formats helps you choose the right one depending on your project’s needs, whether for web, print, or editing.
When to Choose Vector Graphics for Your Projects
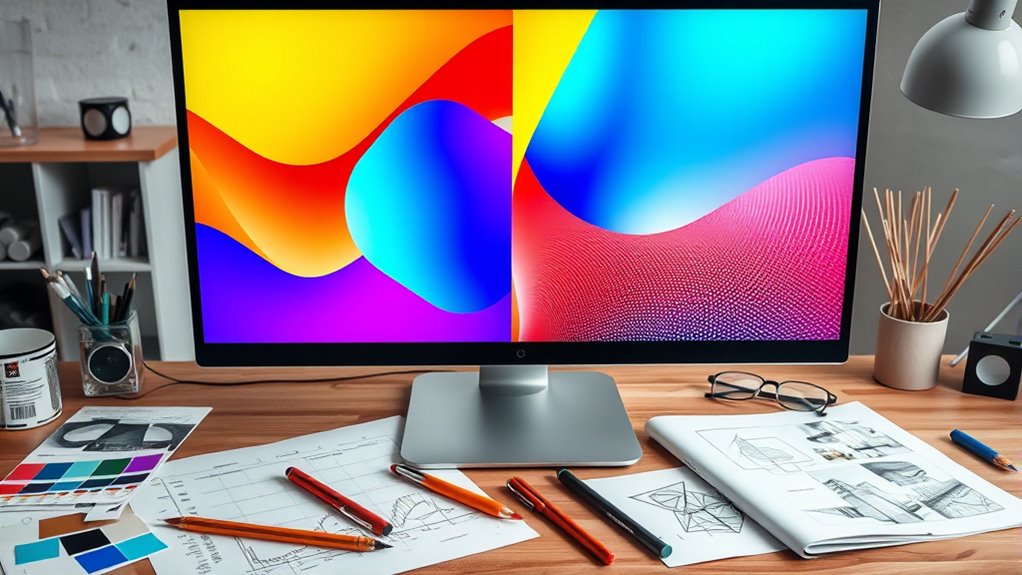
You should choose vector graphics when your project needs to be scaled without losing quality, ensuring crisp visuals at any size. They also keep file sizes smaller and more manageable, especially for complex designs. Plus, vectors give you greater flexibility to edit and customize your artwork easily.
Scalability Benefits
Vector graphics excel in scalability because they can be resized infinitely without losing quality or becoming pixelated. This makes them ideal when you need artwork that adapts to different sizes. Consider these scenarios:
- Creating logos that need to look sharp on both small business cards and large billboards.
- Designing icons that must be clear across various devices and screen resolutions.
- Developing illustrations for print and digital media without quality loss.
- Making technical diagrams where precision and clarity are essential at any size.
File Size Efficiency
When considering file size efficiency, vector graphics often have an advantage because their data primarily consists of mathematical formulas rather than pixel information. This means that, regardless of how much you scale the image, the file size remains relatively small. Vectors store only the essential data needed to recreate shapes, lines, and curves, making them ideal for simple or geometric designs. In contrast, raster files store pixel-by-pixel data, which increases in size with image resolution. If you need to keep your project lightweight, especially for logos, icons, or graphics that require frequent resizing, choosing vector graphics helps maintain smaller file sizes. This efficiency also simplifies sharing and storage, streamlining your workflow.
Design Flexibility
Choosing vector graphics is ideal when your project requires flexibility and frequent resizing, as they can be scaled infinitely without losing quality. This makes vectors perfect for logos, icons, or designs that need to adapt across various formats. Here are four reasons to choose vectors for your projects:
- Infinite scalability — Resize without pixelation or loss of detail.
- Easy editing — Modify shapes, colors, and paths quickly.
- Precise control — Fine-tune every aspect of your design effortlessly.
- Consistent quality — Maintain sharpness across all sizes and outputs.
If your project demands adaptability and clean, adjustable visuals, vector graphics provide the flexibility you need to achieve professional results efficiently.
Situations Where Raster Images Are the Better Option

Raster images are the better option when working with complex, detailed visuals like photographs or artwork that require subtle color variations. If your project involves capturing realistic textures, gradients, or intricate shading, raster images excel because they store data pixel by pixel, preserving fine detail. They’re ideal for photographs, digital paintings, and images with complex color progressions that vectors can’t replicate accurately. When precision in color depth and detail is essential, raster formats like JPEG, PNG, or TIFF deliver high-quality results. Keep in mind, raster images are resolution-dependent, so enlarging them can cause blurriness. Use raster images when you need to represent real-world scenes exactly as they appear, especially where detail and color nuance matter most.
Editing and Manipulating Vector Vs Raster Files
When editing and manipulating files, you’ll notice that vectors offer more flexibility, allowing you to easily adjust shapes without quality loss. Resizing vectors is straightforward, but enlarging raster images can cause pixelation. Common techniques like scaling, cropping, and color adjustments work differently depending on whether you’re working with vectors or rasters.
Editing Flexibility Differences
Vector files offer greater editing flexibility because their elements are defined mathematically, allowing you to resize, reshape, and modify individual components without losing quality. This means you can:
- Adjust shapes and lines precisely without pixelation or blurring.
- Change colors or stroke weights easily, maintaining consistency.
- Edit anchor points to refine curves and angles seamlessly.
- Reconfigure entire objects or groups without affecting other elements.
This flexibility makes vectors ideal for logos, icons, and detailed illustrations, where precision and scalability matter. You can manipulate parts independently, experiment with different designs, and make quick adjustments—all without degrading image quality. In contrast, raster files require pixel-level edits, which can compromise clarity and limit the scope of modifications.
Scaling and Resizing Impact
Have you ever tried resizing an image and noticed it becomes blurry or pixelated? That’s a common issue with raster images, which rely on pixels. When you enlarge a raster file, each pixel spreads out, causing a loss of sharpness and detail. In contrast, vector files are made of mathematical paths, so they scale infinitely without quality loss. You can resize a vector graphic to any size—small or large—and it will stay crisp and clear. This flexibility makes vectors ideal for logos, icons, and illustrations that need to be used across various formats. Raster images, however, require careful consideration of resolution before resizing; otherwise, they lose quality and look unprofessional. Understanding these differences helps you choose the right format for your project’s scaling needs.
Common Manipulation Techniques
Manipulating vector and raster files involves different techniques because of their fundamental structures. With vectors, you can easily:
- Adjust anchor points and paths for precise shape editing.
- Change colors and strokes without quality loss.
- Use the pen tool to create or modify shapes smoothly.
- Scale objects without pixelation, maintaining clarity.
In contrast, raster editing typically involves:
- Retouching images with tools like brushes and clone stamps.
- Applying filters to modify textures and colors.
- Cropping or resizing images, which can cause quality loss.
- Using selection tools to isolate parts for detailed edits.
Understanding these techniques helps you choose the right method for your project, ensuring your edits are effective and professional.
Optimizing Performance and File Size Considerations

When optimizing graphics for performance and file size, choosing the right format plays a crucial role. Vector images typically have smaller file sizes, especially for simple graphics, because they store mathematical data rather than pixel information. Raster images can become large quickly, especially at high resolutions, impacting load times and storage. To balance quality and performance, consider these factors:
| Format | Best Use | Typical File Size |
|---|---|---|
| SVG | Logos, icons, simple graphics | Small |
| PNG | Detailed images, transparency | Moderate to large |
| JPEG | Photographs, complex images | Small to moderate |
Select formats based on your project’s complexity and performance needs for ideal results.
Limitations and Challenges of Each Graphic Type
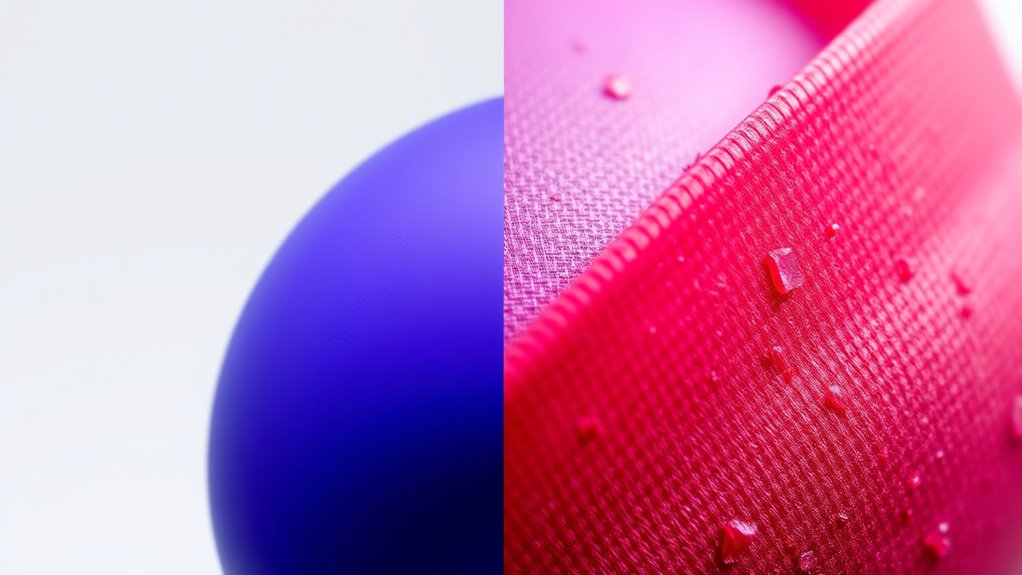
While both vector and raster graphics have their advantages, each format presents specific limitations that can affect your projects.
- Vector graphics struggle with photo-realistic images, often resulting in less detail and realism.
- Raster images lose quality when scaled up, causing pixelation and blurriness.
- Complex vector files can become large and difficult to manage, impacting load times.
- Raster files require more storage space, especially at high resolutions, which can slow down workflows.
Understanding these challenges helps you choose the right format for your needs. While vectors excel in scalability and editing, raster images are better for rich details but can compromise quality when resized. Recognizing these limitations ensures you make informed decisions in your design process.
Tips for Integrating Vectors and Rasters in Design Work
To effectively integrate vectors and rasters in your design work, start by understanding each format’s strengths and limitations. Vectors excel in scalability and precision, making them ideal for logos, icons, and illustrations that require resizing without quality loss. Rasters, on the other hand, handle complex details and realistic textures better, perfect for photographs and detailed images. When combining them, use vectors for structural elements and rasters for detailed backgrounds or textures. Keep file formats in mind; use SVG or AI files for vectors and high-resolution JPEG or PNG for rasters. To guarantee seamless integration, consider working in layered formats like PSD or AI. Always preview your combined work at different sizes to catch potential issues and maintain visual harmony.
Frequently Asked Questions
Can Vector and Raster Graphics Be Combined in a Single Project?
Yes, you can combine vector and raster graphics in a single project. This approach lets you leverage the scalability of vectors for logos or icons while using raster images for detailed photos or textures. You just need to guarantee proper alignment and resolution management to prevent quality issues. Most design software like Adobe Photoshop or Illustrator makes it easy to integrate both types seamlessly, giving your project more versatility and visual appeal.
How Do Printing Requirements Influence Choosing Between Vector and Raster Images?
Think of your project as a canvas where clarity and precision are your guiding stars. Printing requirements shape your choice; if you need sharp lines and scalability, vectors are your sturdy brushstrokes. For rich, detailed images like photographs, rasters provide depth. You’ll choose based on the final medium—high-resolution printing demands raster images, while logos and illustrations benefit from vectors’ crispness and flexibility.
Are There Software Tools That Convert Raster Images to Vectors Effectively?
You might wonder if software tools can effectively convert raster images to vectors. Yes, programs like Adobe Illustrator’s Image Trace, CorelDRAW, and Inkscape are popular options. They analyze the raster image’s colors and shapes to create scalable vector graphics. While results vary depending on image complexity, these tools generally work well for simple designs, giving you editable, high-quality vector files suitable for various design and printing needs.
What Are the Best Practices for Maintaining Quality During Image Resizing?
When resizing images, always start with the highest quality source file possible. Use software that preserves sharpness and detail, like Photoshop or Illustrator. Maintain aspect ratio to avoid distortion, and avoid excessive enlarging that causes pixelation. Apply sharpening filters if needed, and save your work in a lossless format. These practices help guarantee your images stay clear and professional, no matter the size change.
How Do Licensing and Copyright Issues Differ Between Vector and Raster Images?
When it comes to licensing and copyright, you should know that vector images often have more flexible licensing options, allowing easier editing and reuse, while raster images may have stricter restrictions, especially if copyrighted. You need to check licenses carefully before using either type to avoid legal issues. Always verify permissions, whether for personal or commercial projects, and respect copyright laws to protect yourself and the original creators.
Conclusion
So, next time you marvel at a crisp logo or a stunning photo, remember: your choice between vector and raster isn’t just technical—it’s a gamble. Whether you’re scaling endlessly or capturing every pixel’s detail, each has its quirks. Ironically, the perfect image often comes down to knowing when to push or pull. Embrace both, and you’ll master the art of design—until your next stubborn project reminds you who’s really in charge.
