
To storyboard motion graphics effectively, start by clarifying your project’s purpose and audience to guide your visuals and style. Gather ideas through brainstorming, organize them using sketches and references, then plan the scene sequence and timing to make certain smooth storytelling. Add notes for motion, effects, and transitions to communicate your vision clearly. Choosing the right tools and refining your storyboard prepares you for a focused, engaging animation—exploring each step will help you master your storyboard process.
Key Takeaways
- Begin with clear planning of narrative, characters, and emotional beats to guide visual development.
- Create rough sketches of key scenes, focusing on movement, transitions, and visual cues for clarity.
- Organize scenes sequentially, considering pacing, timing, and emotional flow to ensure smooth storytelling.
- Specify motion details, effects, and transition styles to streamline animation and prevent misinterpretation.
- Use consistent color palettes, typography, and visual elements to reinforce mood and maintain visual coherence.

Animated Storytelling
As an affiliate, we earn on qualifying purchases.
As an affiliate, we earn on qualifying purchases.
Understanding the Purpose and Audience of Your Motion Graphics
Understanding the purpose and audience of your motion graphics is essential because it guides every decision you make throughout the design process. When defining your goal, consider what message you want to convey and what action you want viewers to take. Knowing your audience helps tailor your visual style to resonate with them, whether it’s playful, professional, or innovative. Adhering to branding guidelines ensures consistency, reinforcing brand identity and making your motion graphics recognizable. Your visual style should align with these guidelines while also fitting the audience’s preferences. Clarifying purpose and audience early on streamlines your creative process, ensuring each element—from colors to motion—serves a clear function and appeals directly to those you’re targeting. Incorporating psychological research into your design choices can further enhance viewer engagement and emotional impact. Additionally, understanding best free keto diet app options can provide insights into effective tracking methods and community support, which can be creatively adapted to enhance viewer interaction in your motion graphics. Recognizing the importance of Cultural Intelligence in understanding diverse audience backgrounds can help you craft more inclusive and relatable content. Being aware of potential scam risks in related fields can also help you create trustworthy and credible content that builds viewer confidence.

Blank Flip Book Paper with Holes – 240 Sheets (480 Pages) Flipbook Animation Paper : Works with Flip Book Kit Light Pads: for Drawing, Sketching Supplies/Comic Book Kit – Drawing Paper Animation Kit
Complete animation paper set … A great animation starter kit! Our 240 sheet (480 pages) flipbook paper with…
As an affiliate, we earn on qualifying purchases.
As an affiliate, we earn on qualifying purchases.
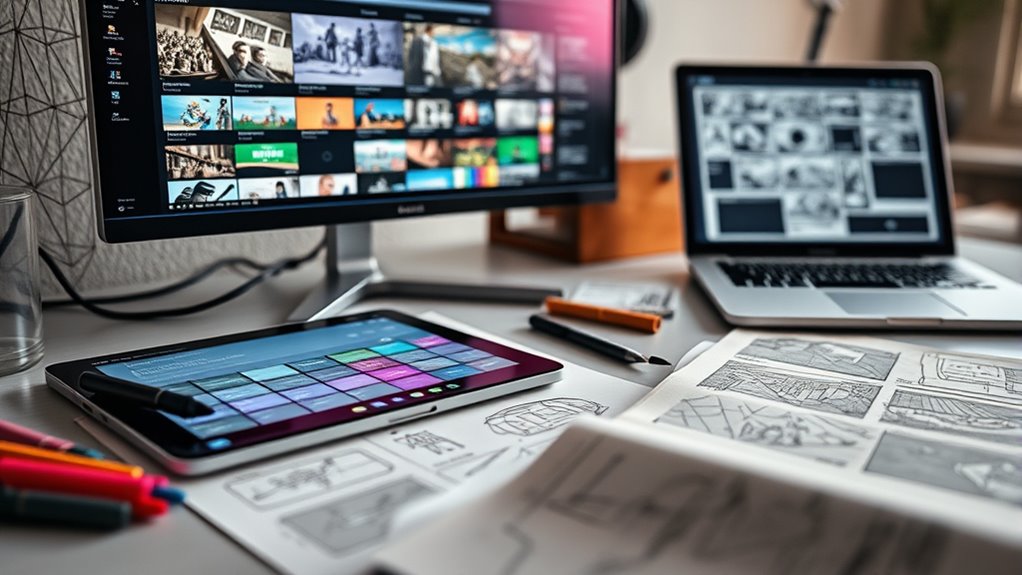
Gathering and Organizing Your Creative Ideas

To create a compelling storyboard, you need to gather your ideas efficiently. Use brainstorming techniques to generate concepts and organize visual elements clearly. Developing a strong narrative helps tie everything together and keeps your project focused. Incorporating content creation tools can further streamline your process and enhance productivity. Additionally, understanding anime movies and animated storytelling techniques can inspire creative visuals and emotional depth in your motion graphics. Exploring aquatic environments can also provide unique visual inspiration, especially if your project involves water themes or fluid motion. As breakfast delivery continues to evolve, considering consumer preferences can help tailor your visuals to resonate with target audiences. Utilizing website analytics insights can also help in understanding audience reactions and refining your storyboard accordingly.
Brainstorming Techniques
When starting the brainstorming process for your motion graphics storyboard, it’s essential to gather ideas from different sources and organize them effectively. Use visual metaphors to convey complex ideas simply, inspiring creative concepts. Keep a list of potential visual metaphors that align with your message, helping you visualize abstract ideas. Additionally, consider different color schemes that evoke the right mood and tone; these choices can spark new ideas and influence your overall style. Don’t hesitate to experiment with contrasting or harmonious palettes during brainstorming sessions. Jot down rough sketches or notes to capture spontaneous thoughts. This approach guarantees you cover a broad spectrum of ideas, making it easier to refine and develop your storyboard later. Exploring regional legal resources can also inspire creative ways to depict complex legal concepts visually. Incorporating visual metaphors from various sources can further enhance the clarity and impact of your motion graphics. Understanding zodiac sign compatibility can also provide unique perspectives on character interactions and storytelling dynamics, adding depth to your visuals. Additionally, referencing vetted design tools like Nightingale Studio can streamline your creative process and ensure professional results.
Organizing Visual Concepts
Organizing your visual concepts effectively guarantees that your creative ideas flow smoothly from initial inspiration to final storyboard. Start by gathering all your ideas, sketches, and references in one place. Consider establishing a consistent color palette early on to create visual harmony and reinforce your message. Keep your typography choices in mind, selecting fonts that complement the tone and readability of your motion graphics. Use folders or digital boards to categorize concepts by theme, style, or scene, making it easier to refine and compare ideas. Prioritize clarity in your organization so you can quickly access and adjust elements as needed. A well-structured approach ensures your visual concepts stay cohesive and aligned with your overall vision, streamlining the storyboarding process. Incorporating Free Floating elements like background accessories or ambient details can further enhance the depth and realism of your scenes. Understanding the importance of contrast ratio can help you make better decisions about visual hierarchy and emphasis. Regularly assessing and reorganizing your workspace also helps in maintaining an efficient workflow and prevents clutter from hindering your creative process. Additionally, being aware of different filtration methods used in air purifiers can inspire you to consider comprehensive solutions for complex visual narratives or detailed scenes. Applying principles of meal planning from nutrition can also help you organize your project phases systematically, ensuring a balanced workflow.
Developing a Narrative
How can you guarantee your motion graphics tell a compelling story? Focus on gathering and organizing your creative ideas around strong character development and emotional resonance. Start by defining your main characters and their motivations, ensuring they feel authentic and relatable. Then, connect these characters through a clear narrative arc that evokes emotion. Use the table below to structure your ideas:
| Idea Category | Key Elements |
|---|---|
| Characters | Traits, goals, relationships |
| Conflict | Challenges, obstacles, stakes |
| Setting | Environment, mood, tone |
| Visual Style | Colors, animation style, mood |
| Emotional Beats | Key moments that evoke feelings |
This organized approach helps keep your story focused and emotionally engaging, making your motion graphics resonate deeply with viewers. Incorporating visual style considerations ensures your message is both captivating and memorable. Additionally, understanding the engine tuning enhancements concept can inspire creative ways to maintain a consistent flow in your narrative, similar to how these planters sustain proper moisture levels effortlessly. For example, choosing a consistent color palette can reinforce the mood and tone across your animation.

Manga Storyboard Sketchbook: A Comic Book Sketchbook with Storyboard Layout Grids, Acid-Free Medium-Weight Drawing Comic Book Paper
As an affiliate, we earn on qualifying purchases.
As an affiliate, we earn on qualifying purchases.
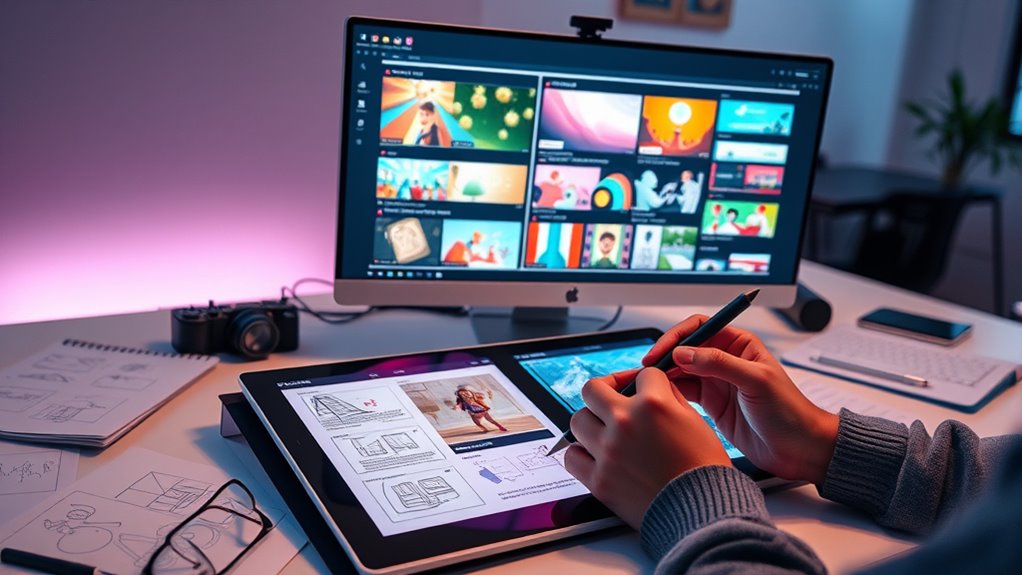
Sketching the Key Scenes and Visual Elements
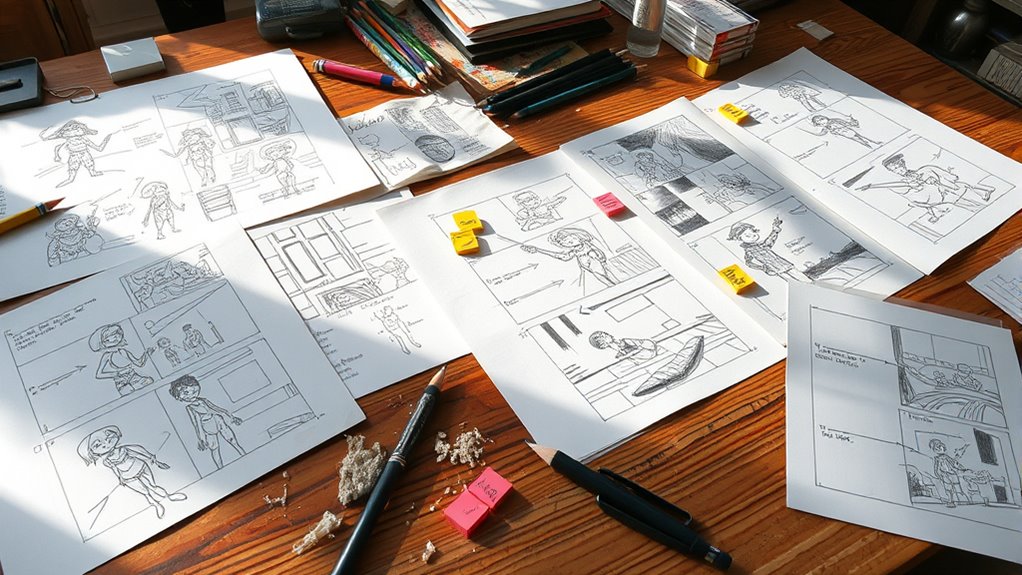
Sketching the key scenes and visual elements is a crucial step that brings your story to life on paper. As you sketch, focus on character development—how characters look, move, and interact—to guarantee they convey emotion and personality clearly. Use rough drawings to explore different poses, expressions, and actions that support your narrative. Simultaneously, develop your color palette, selecting shades that set the tone and mood for each scene. Consistent use of colors helps reinforce themes and guides viewers’ emotions. Keep your sketches simple but expressive, capturing the essence of each shot without overcomplicating details. This process allows you to visualize how your story flows visually and identify any gaps or improvements before moving to the next stage.

DaVinci Resolve Fusion 20 Guide 2026: From Basics to Advanced Compositing, Motion Graphics, and AI-Assisted VFX
As an affiliate, we earn on qualifying purchases.
As an affiliate, we earn on qualifying purchases.
Planning the Sequence and Timing of Shots

Once you’ve sketched your key scenes and visual elements, the next step is to plan the sequence and timing of your shots to make sure a smooth storytelling flow. Focus on shot sequencing to arrange scenes logically and maintain viewer engagement. Break down your storyboard into an order that guides the narrative seamlessly, ensuring each shot progresses naturally to the next. Pay close attention to timing accuracy, so each scene’s duration supports pacing and emotional impact. Use rough estimates to map out how long each shot should last, then adjust to create rhythm and emphasis. Proper planning of sequence and timing prevents awkward transitions and keeps your motion graphics cohesive, ensuring your story unfolds clearly and compellingly. Incorporating analytics and reporting can help refine timing choices based on viewer engagement data. Additionally, considering the flow of emotional connection throughout your storyboard can enhance viewer investment and overall effectiveness of your motion graphics.
Adding Notes for Motion, Effects, and Transitions
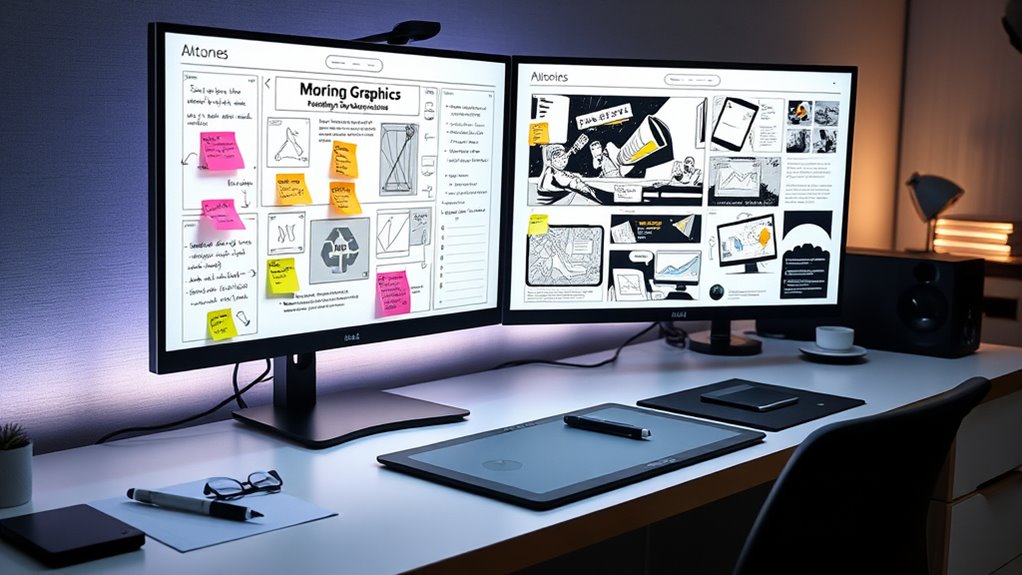
Adding notes for motion, effects, and shifts is a essential step in ensuring your storyboard communicates your vision clearly. These notes guide animators by highlighting crucial visual cues, desired effects, and change details. When specifying motion, mention the type of movement and timing to keep the flow smooth. Use color schemes strategically to evoke emotions and maintain consistency. Clear notes prevent misinterpretation and streamline the production process.
- Highlight key visual cues that signal transitions or focus points
- Specify effects like fades, zooms, or overlays to enhance storytelling
- Indicate transitions between scenes, emphasizing timing and style
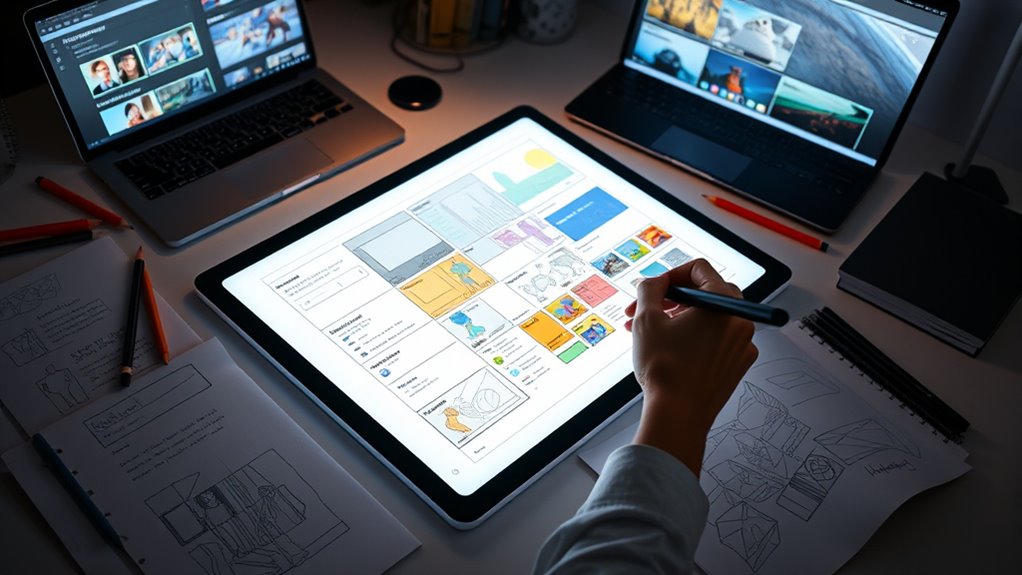
Selecting Tools and Formats for Your Storyboard
Choosing the right software and formats is essential to creating an effective storyboard. You need tools that match your project’s complexity and guarantee your files stay compatible across platforms. Let’s explore how to select the best options for your motion graphics workflow.
Choosing Software Options
Selecting the right software for your storyboarding process is essential to bringing your vision to life efficiently. You need tools that seamlessly fit into your workflow, offering good software compatibility and an intuitive user interface. This ensures you can focus on creativity without technical frustrations. When choosing, consider how easily the software integrates with other programs you use and whether the interface feels natural to you.
Here are key points to keep in mind:
- Software Compatibility: Make sure it works with your operating system and other design tools.
- User Interface: Choose a program with an intuitive, easy-to-navigate layout.
- Features & Flexibility: Look for options like drag-and-drop, layering, and easy editing to streamline your process.
Ideal File Formats
The file formats you choose for your storyboards directly impact how easily you can edit, share, and finalize your work. For clean, scalable visuals, vector graphics formats like SVG or AI are ideal, especially for line art or diagrams. They allow you to resize without losing quality, making revisions straightforward. If your storyboard relies on detailed images or textures, raster images like PNG or JPEG are better options. Raster formats are widely supported and handle complex color details well, but they can lose quality when scaled. Combining vector graphics for structure and raster images for detailed visuals gives you flexibility. Select formats that suit your project’s needs and guarantee compatibility with your editing tools, streamlining your workflow from conception to final presentation.
Compatibility Considerations
Since compatibility between your tools and file formats is essential, you need to verify that the software you use can open, edit, and export your storyboard files without issues. Device compatibility is vital—make sure your chosen tools work seamlessly across your devices to avoid disruptions. Additionally, consider software integration; select programs that easily connect with your existing workflow, saving time and reducing errors.
- Confirm that your software supports the necessary file formats for smooth transitions
- Check if your preferred tools are compatible across different devices and operating systems
- Guarantee the software integrates well with other applications you use, like editing or sharing platforms
Reviewing and Refining Your Storyboard Before Production

Have you ever finished a storyboard only to realize it needs adjustments before moving into production? Reviewing and refining your storyboard is essential to guarantee your visual storytelling effectively captures your message and boosts audience engagement. Take a close look at each scene: check for clarity, pacing, and emotional impact. Look for opportunities to simplify complex visuals or enhance storytelling flow. Share your storyboard with colleagues or test viewers to gather feedback. This process helps identify gaps or inconsistencies that might hinder understanding or engagement. Refining your storyboard ensures your motion graphics communicate clearly and resonate with your audience, making the final product more compelling. Remember, a polished storyboard saves time during production and sets the stage for a captivating, well-structured animation.
Frequently Asked Questions
How Detailed Should My Storyboard Sketches Be for Motion Graphics?
When deciding on the level of detail for your storyboard sketches, keep it simple yet clear enough to convey your vision. Your sketches should focus on key movements, timing, and *progressions*, with enough sketch complexity to communicate the scene’s flow. Avoid overloading with intricate details; instead, aim for clarity and efficiency. This approach helps you and your team stay aligned without wasting time on unnecessary intricacies.
What Common Mistakes Should I Avoid When Storyboarding for Motion Graphics?
Like a compass guiding a ship, avoiding common mistakes keeps your project on course. You should prioritize visual consistency, ensuring all elements align seamlessly. Don’t overlook timing accuracy—getting the pacing right is vital. Avoid overly complex sketches that can cause confusion, and don’t forget to plan shifts carefully. By focusing on these areas, you ensure your storyboard effectively communicates your vision and streamlines the animation process.
How Can I Effectively Communicate Motion and Transitions in My Storyboard?
You can effectively communicate motion and shifts in your storyboard by using clear visual cues and pacing techniques. Add arrows, lines, or annotations to show movement directions, speed, and timing. Focus on creating a rhythm that guides viewers smoothly from one scene to the next. Keep your sketches simple but descriptive, emphasizing key motions and transition effects so everyone understands how the final animation will flow.
What Are the Best Practices for Collaborating on a Storyboard With a Team?
Effective team collaboration hinges on clear communication and embracing collaborative feedback. You should establish a shared platform, like a digital storyboard, to keep everyone aligned. Encourage open discussion where team members can voice ideas and concerns freely. Regular check-ins help clarify goals and resolve misunderstandings. By fostering transparency and valuing input, you guarantee your team works cohesively, producing a storyboard that captures everyone’s vision and streamlines the motion graphics process.
How Do I Adapt My Storyboard for Different Animation Styles and Formats?
When adapting your storyboard for different animation styles and formats, focus on maintaining animation flexibility and style adaptation. You should tailor your sketches and descriptions to match each style’s unique characteristics, like line work or color schemes. Use versatile scene compositions that work across formats, whether for 2D, 3D, or stop-motion. Keeping your storyboard adaptable guarantees smooth shiftings between styles, making your project more cohesive and effective across various animation formats.
Conclusion
Think of your storyboard as the blueprint for your motion graphics masterpiece. By carefully planning each scene, timing, and effect, you set the foundation for a smooth production journey. When your storyboard is clear and detailed, it’s like having a trusted map guiding you through uncharted creative territory. So, invest time now—your future self will thank you for steering your project with confidence and precision.